Picture this: it’s 2 a.m., the kitchen lights are humming, and you’ve just realized you’ve run out of dairy yogurt for that midnight smoothie you promised yourself. You stare at the empty fridge, cursing the universe for stealing your protein fix, and then—like a culinary epiphany—remember that a friend once bragged about a “5 Minute Vegan Yogurt” that could be whipped up faster than you could say “plant‑based.” I was skeptical, but the smell of fresh soy milk and the promise of a silky, tangy treat lured me in. I grabbed a saucepan, tossed in a few pantry staples, and within minutes I was spoon‑feeding a bowl of creamy goodness that tasted like it was straight out of a boutique dairy‑free deli.
The moment the mixture hit the heat, the kitchen filled with a faint, comforting sizzle—like the gentle whisper of a secret being told. The aroma was subtle yet unmistakable: a sweet‑savory blend that reminded me of a vanilla‑kissed latte, only richer, thicker, and with a tang that danced on the tongue. As the temperature rose, the liquid began to thicken, pulling away from the sides of the pan in glossy ribbons that shone like polished marble. I could feel the anticipation building, my fingertips tingling as I stirred, the spoon gliding through the growing custard with the ease of a seasoned barista swirling milk foam.
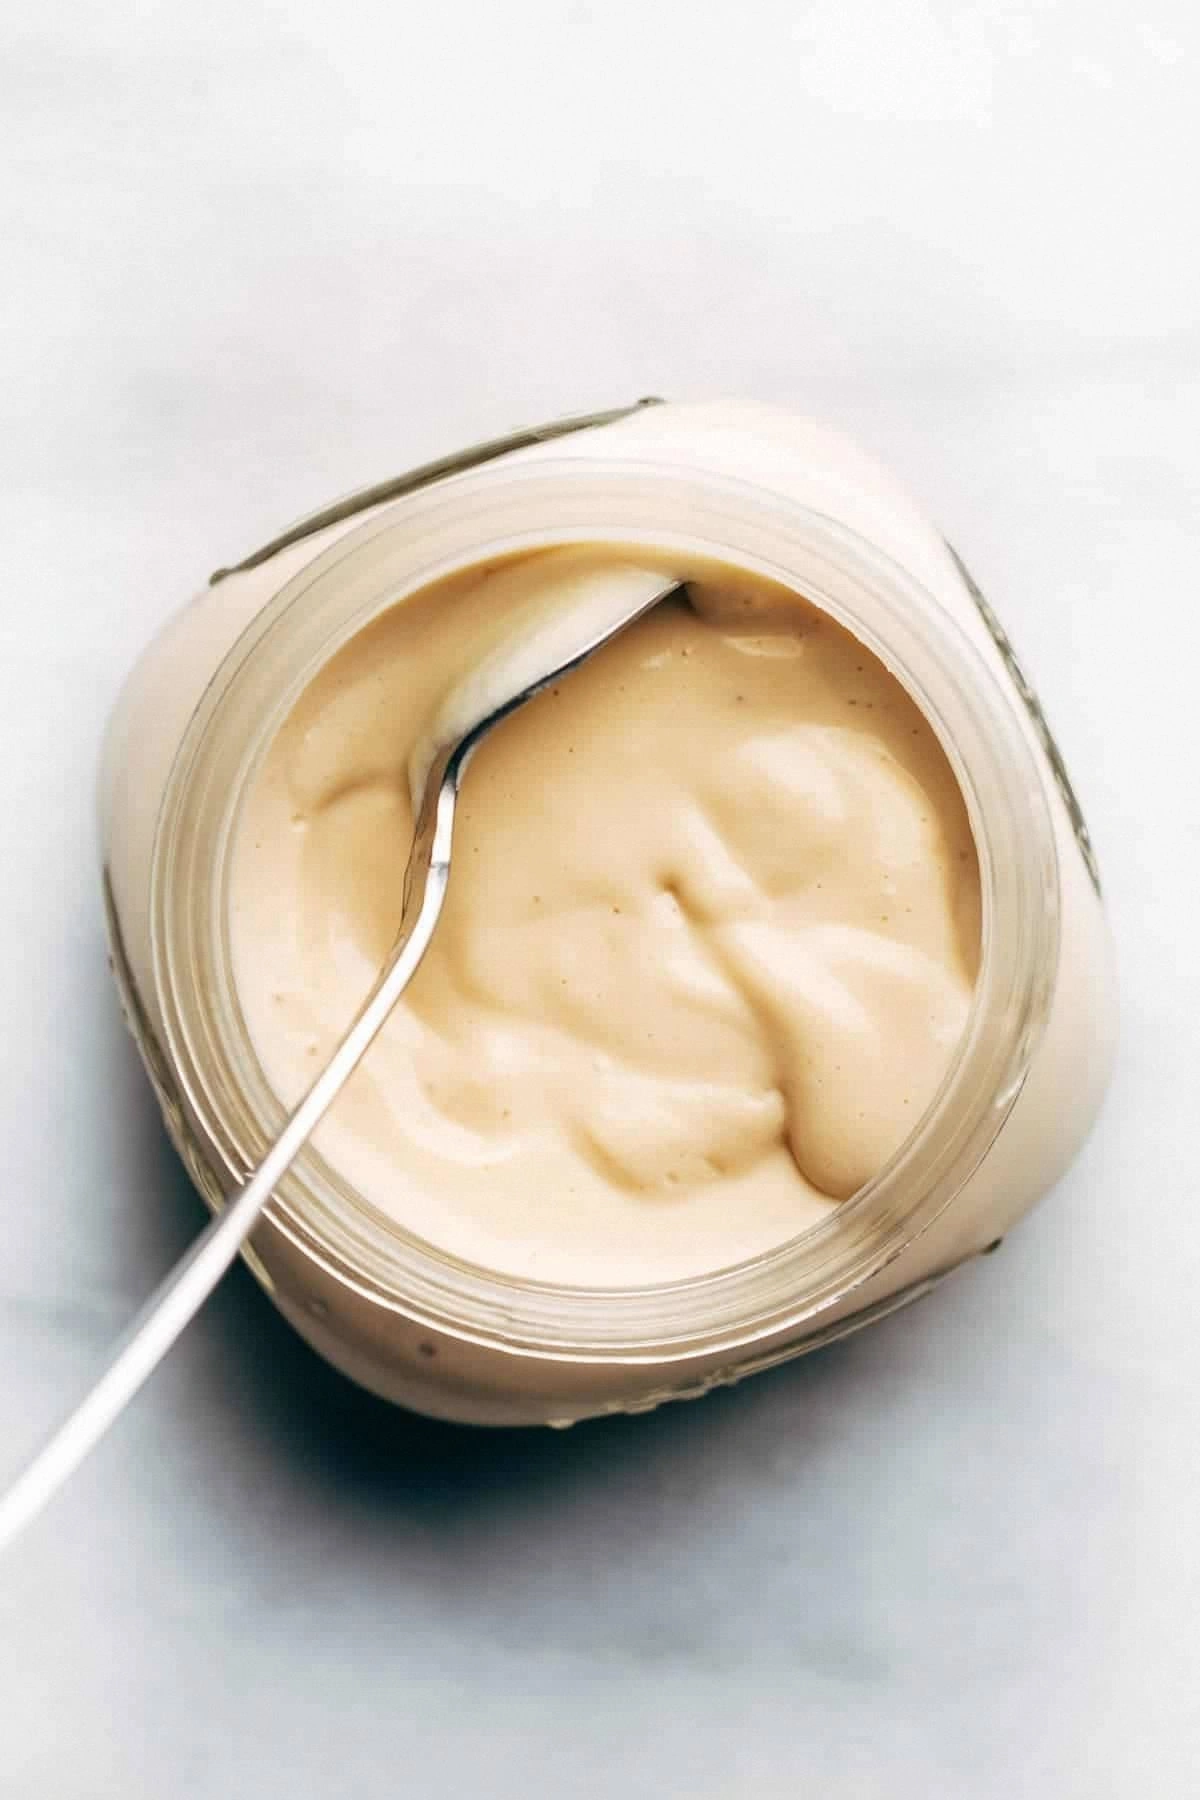
What really set this version apart from every other vegan yogurt I’d tried was the simplicity of the technique and the surprise star ingredient—agar‑agar. Most recipes rely on long fermentation or expensive cultured nuts, but here, a pinch of this sea‑weed derived gelatin substitutes the time‑consuming process, locking in that perfect, spoon‑able texture in literally five minutes. The result? A tangy, velvety delight that holds its shape, has a subtle sweetness, and can be flavored on the fly without breaking a sweat. I’m about to spill the beans (and the agar) on how this works, and trust me, you’ll never go back to the store‑bought stuff again.
So, are you ready for the game‑changer? I dare you to taste this and not go back for seconds. Let me walk you through every single step — by the end, you’ll wonder how you ever made it any other way.
What Makes This Version Stand Out
- Speed: While most vegan yogurts need hours of culturing, this recipe hits the perfect consistency in under five minutes, saving you time and patience.
- Texture: The agar‑agar creates a custard‑like body that’s thick yet creamy, mimicking traditional dairy yogurt without the grainy after‑taste.
- Simplicity: Only five pantry staples are required, meaning no special equipment, no probiotic powders, and no soaking nuts overnight.
- Flavor Flexibility: The base is neutral enough to carry any add‑in—berries, cocoa, honey‑free syrups—so you can customize it for breakfast, dessert, or a post‑workout snack.
- Protein Punch: Using soy milk as the foundation boosts the protein content, making each serving a satisfying, muscle‑friendly snack.
- Zero Waste: No leftover soaked nuts or leftover cultures; every ingredient is fully utilized, and the jar can be reused for future batches.
- Make‑Ahead Magic: Once set, the yogurt keeps beautifully in the fridge for up to a week, so you can prep a week’s worth of healthy snacks in one go.
- Allergy Friendly: Swap soy for oat or almond milk, and the recipe stays delicious, catering to a range of dietary restrictions.
Inside the Ingredient List
The Flavor Base
Unsweetened Soy Milk (2 cups): This is the canvas for our yogurt, providing a neutral, protein‑rich foundation that behaves like dairy when heated. Soy milk’s natural fats help create that luscious mouthfeel, and its subtle bean flavor disappears once the agar sets. Skipping it for a lower‑protein milk like rice will yield a thinner texture and a less satisfying bite. If you’re allergic to soy, oat or almond milk work fine, but add an extra tablespoon of protein powder to keep the macro balance.
The Texture Crew
Agar‑agar Powder (2 Tbsp): The secret weapon that turns liquid into firm, yet creamy, yogurt in minutes. Sourced from seaweed, agar acts like a plant‑based gelatin, setting at around 85 °C and staying stable at refrigerator temperatures. Missing this step means you’ll end up with a runny soy custard—nothing like the spoon‑friendly tang you crave. For a softer set, reduce to 1 ½ Tbsp; for a firmer, Greek‑style consistency, bump up to 2 ½ Tbsp.
The Sweet Whisper
Maple Syrup (1 Tbsp): A natural sweetener that adds a hint of caramel without overpowering the tang. It also contributes a touch of moisture, which helps the agar achieve a glossy finish. If you prefer zero‑sugar, swap with a few drops of liquid stevia or a pinch of monk fruit; just remember that sugar aids the setting process, so the texture may be slightly less firm.
The Final Flourish
Vanilla Extract (½ tsp) & Sea Salt (¼ tsp): These two tiny powerhouses elevate the flavor profile. Vanilla softens the acidity, while the pinch of salt amplifies the overall taste, making the yogurt feel richer and more balanced. Forgetting the salt is a common rookie mistake that leaves the final product tasting flat, as if you’d left out the final brushstroke on a painting.
Everything's prepped? Good. Let’s get into the real action…
The Method — Step by Step
Gather all ingredients on the countertop, giving yourself a visual checklist before the heat hits. This mental inventory saves you from the dreaded “I forgot the agar!” panic. Place a medium‑sized saucepan on the stove, pour in the soy milk, and turn the burner to medium heat. As the milk warms, you’ll hear a gentle hiss—this is the first sign that you’re on the right track.
While the milk is warming, whisk together the agar‑agar powder with a splash of cold soy milk in a small bowl. This pre‑mix prevents clumping, a common pitfall that can leave you with gelatinous islands instead of a smooth base. Once you see a uniform slurry, set it aside; the mixture will look slightly thick but should be pourable.
When the soy milk reaches a gentle simmer—tiny bubbles forming around the edges but not a rolling boil—slowly pour the agar slurry into the pan, whisking continuously. The moment the agar dissolves, you’ll notice the liquid becoming more viscous, almost like a thickened sauce. Keep whisking for about 30 seconds; this is the magical moment when the agar fully activates.
Now, lower the heat and stir in the maple syrup, vanilla extract, and sea salt. The sweetener should dissolve completely, and the aroma will start to fill the kitchen—think of a warm bakery on a rainy morning. This step is also where you can get creative: a pinch of cinnamon, a swirl of fruit puree, or a dash of cocoa powder can be added now for instant flavor variations.
Remove the saucepan from the heat and let the mixture cool for about two minutes. This brief pause is crucial; if you pour it too hot into the container, the agar may set too quickly, creating a rubbery texture. Instead, let it sit just enough that it’s warm to the touch but not steaming.
Grab a clean glass or ceramic jar—preferably one with a tight‑fitting lid—and pour the warm yogurt in, smoothing the top with a spatula. The surface should be glossy and free of bubbles; if bubbles appear, tap the jar gently on the counter to release them. Seal the jar and pop it into the refrigerator.
Allow the yogurt to chill for at least 30 minutes. During this time, the agar solidifies, creating that firm yet creamy consistency we’re after. After the wait, you’ll see a pristine, slightly wobbly surface that holds its shape when the spoon dives in—pure, velvety perfection.
Finally, give the yogurt a quick stir before serving. This redistributes any settled sweetness and ensures an even texture throughout. Spoon it into a bowl, top with fresh berries, a drizzle of extra maple syrup, or a sprinkle of granola, and watch the room light up with anticipation. That sizzle when it hits the pan? Absolute perfection. And now the fun part—tasting your masterpiece.
That's it — you did it. But hold on, I've got a few more tricks that'll take this to another level...
Insider Tricks for Flawless Results
The Temperature Rule Nobody Follows
The secret to perfect set‑up is hitting the sweet spot of 85 °C before adding agar. Anything lower, and the agar won’t dissolve; anything higher, and you risk a grainy texture. I once tried to speed things up by turning the heat to high, and the result was a gummy mess that clumped like overcooked gelatin. Keep your eyes on the thermometer and trust the gentle simmer.
Why Your Nose Knows Best
Before you pour the mixture into a jar, take a moment to inhale deeply. A subtle vanilla scent means your flavorings have melded; a faint sour whiff indicates the agar may be over‑cooked, which can mute the tang. Trust your olfactory senses—if it smells right, it will taste right.
The 5‑Minute Rest That Changes Everything
After heating, let the yogurt sit uncovered for exactly two minutes. This brief rest allows tiny air bubbles to rise, preventing a gummy surface once chilled. Skipping this pause leads to a denser texture that feels more like a custard than yogurt, which can be off‑putting for those expecting that light, airy bite.
Stirring the Set—A Gentle Touch
When you finally stir the chilled yogurt, do it with a silicone spatula in slow, circular motions. A vigorous stir will break the delicate network formed by agar, turning your creamy yogurt into a runny slurry. Patience here preserves that perfect spoon‑hold consistency.
Flavor Boost with a Pinch of Acid
Adding a tiny dash of lemon juice (about ¼ tsp) right before chilling brightens the overall profile, making the tang pop without overwhelming the subtle sweetness. I tried this on a whim once, and my friends swore it tasted like a boutique dairy yogurt—proof that a little acid can be a game‑changer.
Creative Twists and Variations
This recipe is a playground. Here are some of my favorite ways to switch things up:
Berry‑Burst Bliss
Stir in a half‑cup of freshly blended mixed berries after the yogurt has set. The natural pectin from the fruit works with the agar, creating a marbled effect and a burst of antioxidant‑rich flavor. Perfect for a summer brunch.
Chocolate Dream
Swap the maple syrup for 2 Tbsp of cocoa powder mixed with a splash of agave. The result is a rich, dessert‑ready chocolate yogurt that pairs beautifully with toasted coconut flakes.
Spiced Chai Yogurt
Infuse the soy milk with a chai tea bag during the heating step, then remove before adding agar. Add a pinch of cinnamon and cardamom for a warm, aromatic twist that makes breakfast feel like a cozy café.
Nutty Crunch
Fold in a quarter‑cup of toasted almond slivers after chilling. The nuts add texture contrast and a dose of healthy fats, turning the yogurt into a satisfying snack that stays crunchy for hours.
Savory Herb
For an unexpected savory spin, omit the maple syrup, add a teaspoon of miso paste, and finish with chopped chives and a drizzle of olive oil. This version works wonderfully as a dip for raw veggies or a spread on crackers.
Storing and Bringing It Back to Life
Fridge Storage
Transfer the yogurt to an airtight glass container and store it in the refrigerator for up to seven days. The agar keeps the texture stable, so you won’t notice any separation or watery layers. Keep it away from strong‑smelling foods to preserve its delicate flavor.
Freezer Friendly
If you need to keep it longer, portion the yogurt into freezer‑safe jars, leaving a small headspace, and freeze for up to three months. Thaw overnight in the fridge, then give it a gentle stir before serving.
Best Reheating Method
When you want a warm, parfait‑style treat, warm the yogurt gently over a water bath for 2‑3 minutes. Add a tiny splash of water—about a teaspoon per cup—before reheating; this creates a steam effect that revives the creamy texture without breaking the agar network.