Picture this: a Saturday night, the lights flicker, and you’re staring at a bowl of mini pretzels that just won’t quit. The air smells like a campfire, but the only thing on the grill is your kitchen counter. I was craving that smoky, sweet, salty combo that only a real s’more can deliver. I pulled out a bag of pretzels, a tub of chocolate chips, and a handful of marshmallows, and the idea hit me like a lightning bolt. That night, I invented a bite‑size version that would change how we think about snack time forever.
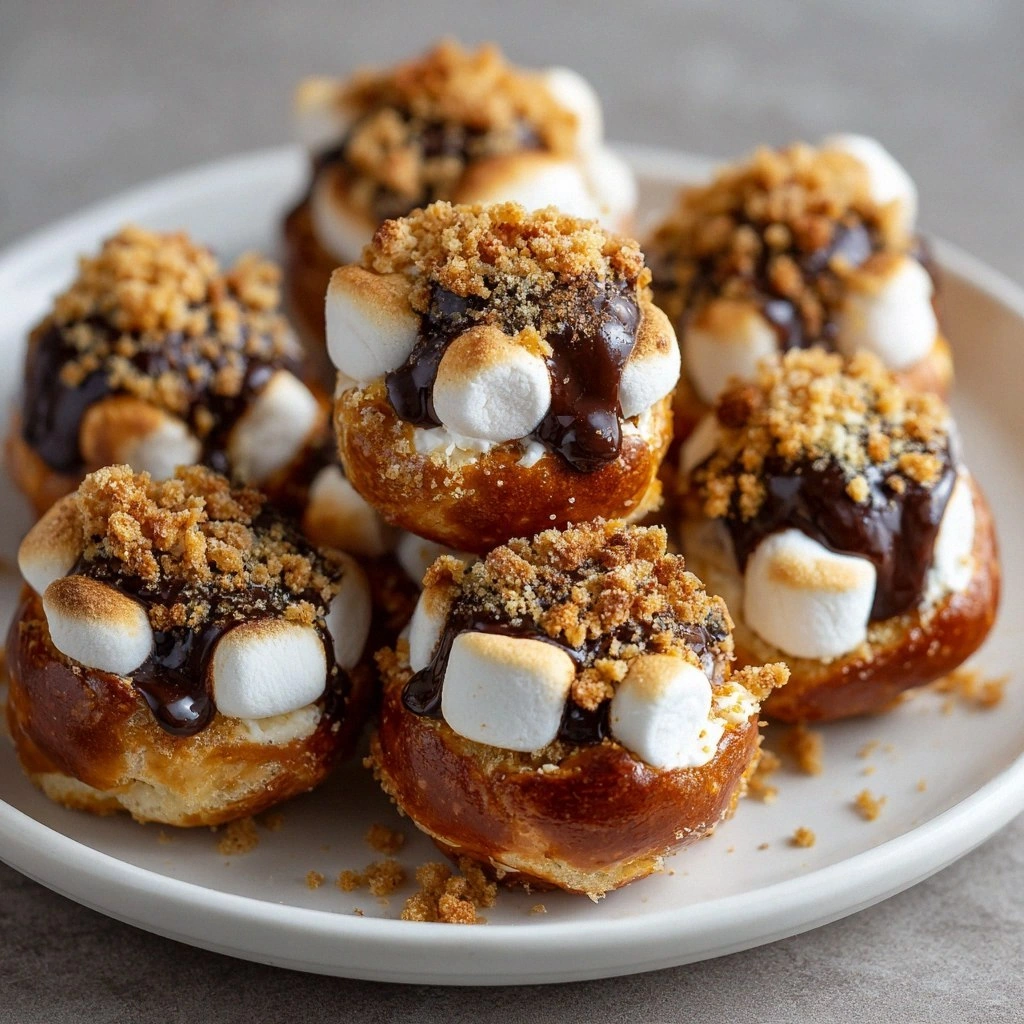
I didn’t just stop at the classic trio. I added a crunchy graham‑cracker crown that gives each bite a satisfying snap, and melted butter that binds everything together like a secret handshake. The result? A texture that starts with a salty pretzel crunch, melts into a chocolate‑marshmallow ooze, and finishes with a graham‑cracker crunch that sticks in your memory. I dared myself to taste this and not go back for seconds, and I was proven wrong. The first bite was a fireworks display of flavors that made the kitchen smell like a summer campfire on a rainy night. I’ve been bragging about it ever since.
Most recipes get this completely wrong by over‑baking the marshmallows or using too much chocolate, turning a sweet treat into a sticky mess. What sets this version apart is the balance of heat and chill, the precise ratio of pretzels to chocolate, and the clever use of butter to keep the crumbs glued. I’ll be honest— I ate half the batch before anyone else got to try it, but the second half was still as good as the first. The secret lies in the timing: just enough heat to melt, not enough to scorch. And that tiny detail of sprinkling graham crumbs on top before baking gives a crunch that’s almost cinematic.
Picture yourself pulling these from the oven, the whole kitchen smelling incredible, and a crowd of friends gathering around with anticipation. The sizzle as the chocolate starts to bubble, the marshmallows puffing up like miniature clouds, and the pretzels turning a golden brown is a sensory spectacle. I can hear the crunch, feel the warmth, taste the salt, smell the chocolate, and see the golden glow. That moment is pure magic, and I can’t wait to share every single step. Let me walk you through every single step — by the end, you’ll wonder how you ever made it any other way.
What Makes This Version Stand Out
- Taste: A symphony of salty, sweet, and chocolatey notes that dance on the tongue. The pretzels provide a savory backbone that balances the sugary marshmallows. The chocolate adds depth, creating a layered experience in each bite.
- Texture: The perfect contrast between crunchy pretzels, gooey marshmallows, and crispy graham crumbs. Each element melts or snaps at just the right moment, keeping the mouth moving. No single texture dominates; they coexist harmoniously.
- Simplicity: Five ingredients, one pan, and a few minutes of love. No fancy gadgets or elaborate prep work. This recipe fits into a hectic schedule without sacrificing flavor.
- Uniqueness: Pretzel base gives a campfire vibe without a campfire. It’s a nostalgic nod that feels modern and unexpected. The combination feels fresh, even for seasoned s’more lovers.
- Crowd Reaction: Kids scream, adults sigh, and everyone begs for seconds. The bite‑size format is perfect for sharing. It’s the kind of treat that turns an ordinary evening into a celebration.
- Ingredient Quality: Using premium chocolate chips ensures a silky melt and no bitterness. The quality of the chocolate translates into a richer, smoother experience. A good chocolate makes a world of difference.
- Make‑Ahead Potential: Bake a batch, store airtight, and reheat for instant treats. The flavors deepen over time, and reheating restores that fresh‑from‑oven warmth.
Alright, let's break down exactly what goes into this masterpiece...
Inside the Ingredient List
The Flavor Base
Pretzels are the unsung heroes of this recipe. Their salty profile anchors the sweetness of the marshmallows and chocolate. They also provide a sturdy framework that holds everything together. Skipping them would leave the bites feeling airy and lacking depth. If you prefer a milder saltiness, opt for lightly salted pretzels.
The Texture Crew
Mini marshmallows bring that iconic gooey center. Their size is crucial; larger marshmallows can overwhelm the bite, while smaller ones may melt too quickly. Chocolate chips melt into a silky coating that ties the flavors together. Together, they create a layered mouthfeel that keeps you coming back for more.
The Unexpected Star
Graham cracker crumbs are the crunchy crown that crowns each bite. They add a caramelized, buttery crunch that contrasts the soft interior. The crumbs also act as a binder, sticking the marshmallows in place. Without them, the bites would feel incomplete.
Everything's prepped? Good. Let's get into the real action...
The Method — Step by Step
- Preheat your oven to 350°F (175°C). Line a baking sheet with parchment paper to prevent sticking. This step ensures even heat distribution across all bites. The parchment also makes cleanup a breeze.
- In a large mixing bowl, combine the mini pretzels and chocolate chips. Stir them gently so the chocolate coats the pretzels evenly. The chocolate will melt slightly during baking, creating a glossy sheen. This mixture will form the core of each bite.
- Add the mini marshmallows to the pretzel–chocolate blend. Toss until each marshmallow is surrounded by pretzels and chocolate. This is the moment of truth where gooey meets crunchy. The marshmallows should be evenly distributed to avoid uneven melting.
- Drizzle the melted butter over the mixture. Use a spoon to distribute it evenly, ensuring the graham cracker crumbs can adhere. Butter not only adds richness but also helps the crumbs stick. It also prevents the mixture from drying out during baking.
- Sprinkle the graham cracker crumbs on top of the mixture, pressing them lightly into the surface. The crumbs should form a thin, even layer. This step adds the final crunch and creates a golden crust as the oven does its work. The crumbs also help keep the marshmallows contained.
- Bake for 12–15 minutes, or until the chocolate has melted into a glossy coating and the edges start pulling away from the parchment. Watch for the first signs of bubbling; that’s when the marshmallows are just right. The aroma that fills the kitchen is unmistakable and intoxicating.
- Remove the baking sheet from the oven and let the bites cool for 5 minutes. The marshmallows will firm up slightly, making them easier to handle. Transfer the bites to a wire rack to cool completely. This cooling period allows the flavors to settle and the crumbs to crisp.
- Serve immediately or store in an airtight container. If you’re planning ahead, keep them refrigerated for up to five days. For a quick reheat, pop them in a 350°F oven for 2 minutes to restore that warm, gooey center.
That's it — you did it. But hold on, I've got a few more tricks that'll take this to another level...
Insider Tricks for Flawless Results
The Temperature Rule Nobody Follows
Many bakers think a higher temperature means faster results. In reality, a steady 350°F keeps the chocolate from scorching while allowing the marshmallows to melt evenly. Keep the oven door closed to maintain that precise temperature. If your oven runs hot, lower the setting by 25°F to avoid a burnt top.
Why Your Nose Knows Best
When the chocolate starts to bubble, that aroma is your cue that the bite is almost ready. Your nose can detect the subtle shift from raw chocolate to a caramelized sheen. Trust that scent over the timer. If you’re a visual person, look for the first golden edge before pulling them out.
The 5-Minute Rest That Changes Everything
Letting the bites rest on the rack for exactly five minutes allows the internal temperature to even out. The marshmallows firm up enough to hold shape, while the chocolate sets into a smooth coating. Skipping this step results in a messier bite that falls apart. I’ve seen people rush and end up with a sticky plate.
The Secret Butter Trick
Instead of plain melted butter, mix a teaspoon of honey into the butter before drizzling. The honey caramelizes slightly, adding a subtle sweetness that complements the chocolate. It also creates a glossy finish that looks professionally finished. Try it next time for a gourmet twist.
The Quick Reheat Method
If you need a warm bite at a last‑minute party, pop the pre‑baked treats in a 350°F oven for just 2 minutes. The heat will melt the chocolate back to silky perfection without overcooking the marshmallows. Keep a close eye to avoid burning. This trick keeps the experience fresh even after storage.
Creative Twists and Variations
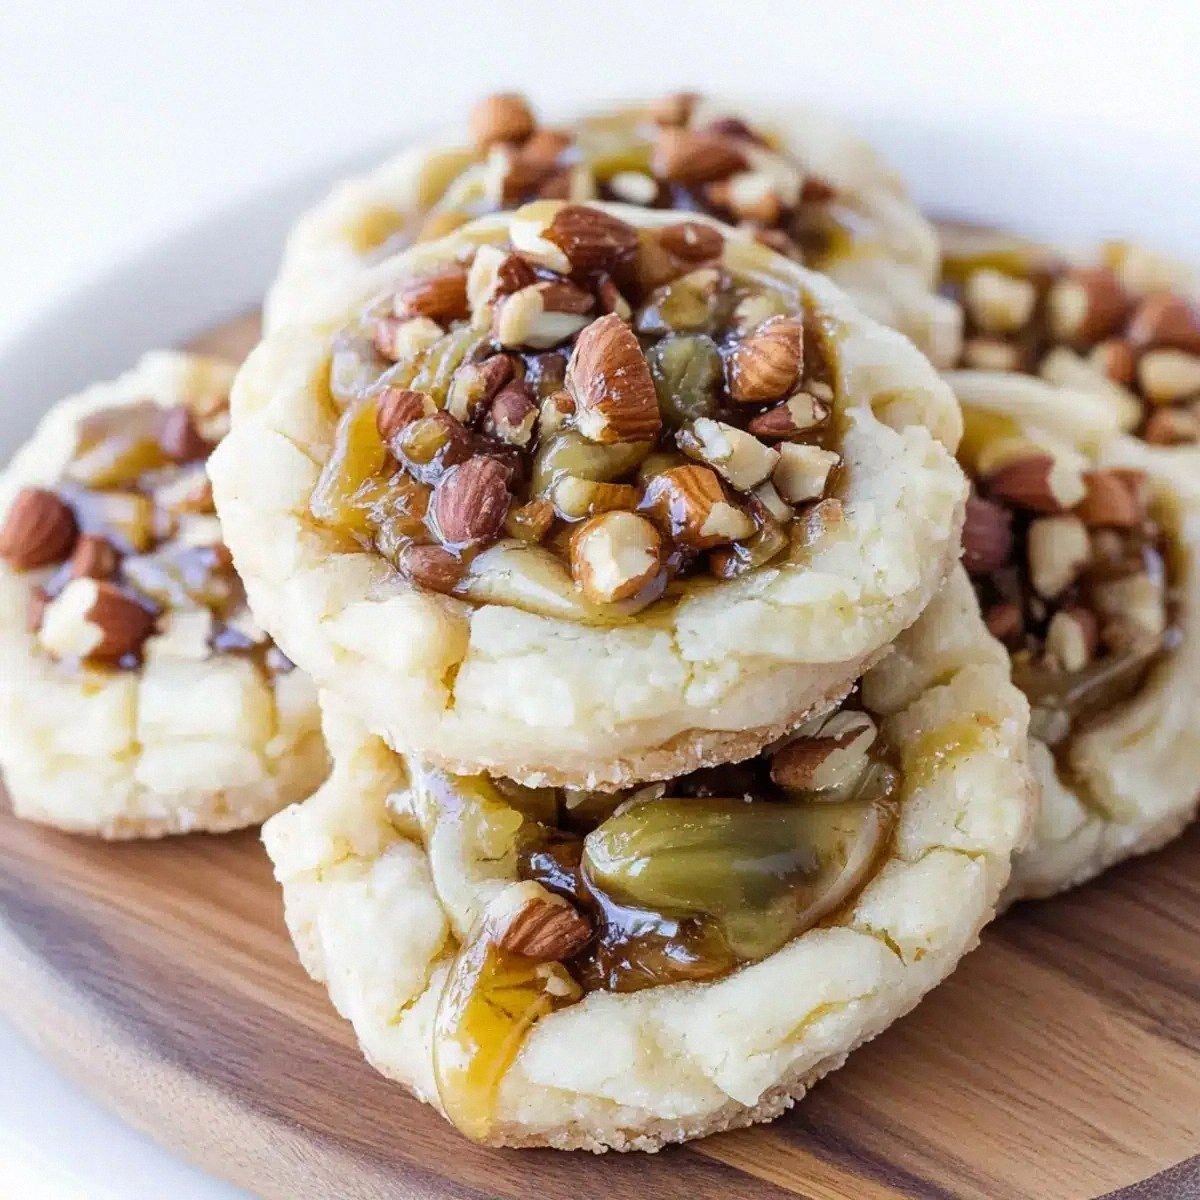
Nutty Crunch Edition
Swap the mini pretzels for crushed roasted almonds or pecans. The nutty flavor pairs beautifully with the chocolate, and the crunch adds a new dimension. Keep the rest of the ingredients unchanged. This version is perfect for a sophisticated snack table.
Minty Fresh Twist
Add a handful of crushed peppermint candy or a few drops of peppermint extract to the chocolate mixture. The mint cuts through the sweetness, giving the bite a refreshing finish. Serve on a winter holiday or a spring gathering for a seasonal flair.
Coconut Cream Variation
Replace the butter with coconut oil and use shredded coconut as a topping. The tropical flavor transforms the bite into a beach‑inspired treat. The coconut also adds a subtle chewiness that contrasts the crisp pretzels.
Spiced Cinnamon Kick
Sprinkle a dash of ground cinnamon or nutmeg over the graham cracker crumbs before baking. The spices introduce warmth and depth, making the bites feel cozy. This is ideal for a fall gathering or a cozy evening by the fire.
Chocolate‑Covered Delight
After baking, dip each bite in melted dark chocolate and let it set. The extra chocolate coating adds richness and a glossy finish. For an extra touch, sprinkle crushed sea salt on top for a sweet‑salty contrast.
Storing and Bringing It Back to Life
Fridge Storage
Store the cooled bites in an airtight container at room temperature for up to 3 days. If you’re in a humid area, keep them in the fridge to prevent the chocolate from softening. Wrap each bite in parchment if you plan to keep them longer.
Freezer Friendly
Freeze the cooled bites in a single layer on a baking sheet before transferring them to a freezer bag. They’ll stay fresh for up to 2 months. When you’re ready, thaw at room temperature for 15 minutes before reheating.
Best Reheating Method
Reheat in a 350°F oven for 2 minutes to restore that warm, gooey center. Alternatively, microwave on low power for 10–15 seconds if you’re in a hurry. Add a tiny splash of water before reheating to create steam that softens the chocolate and marshmallows without drying them out.