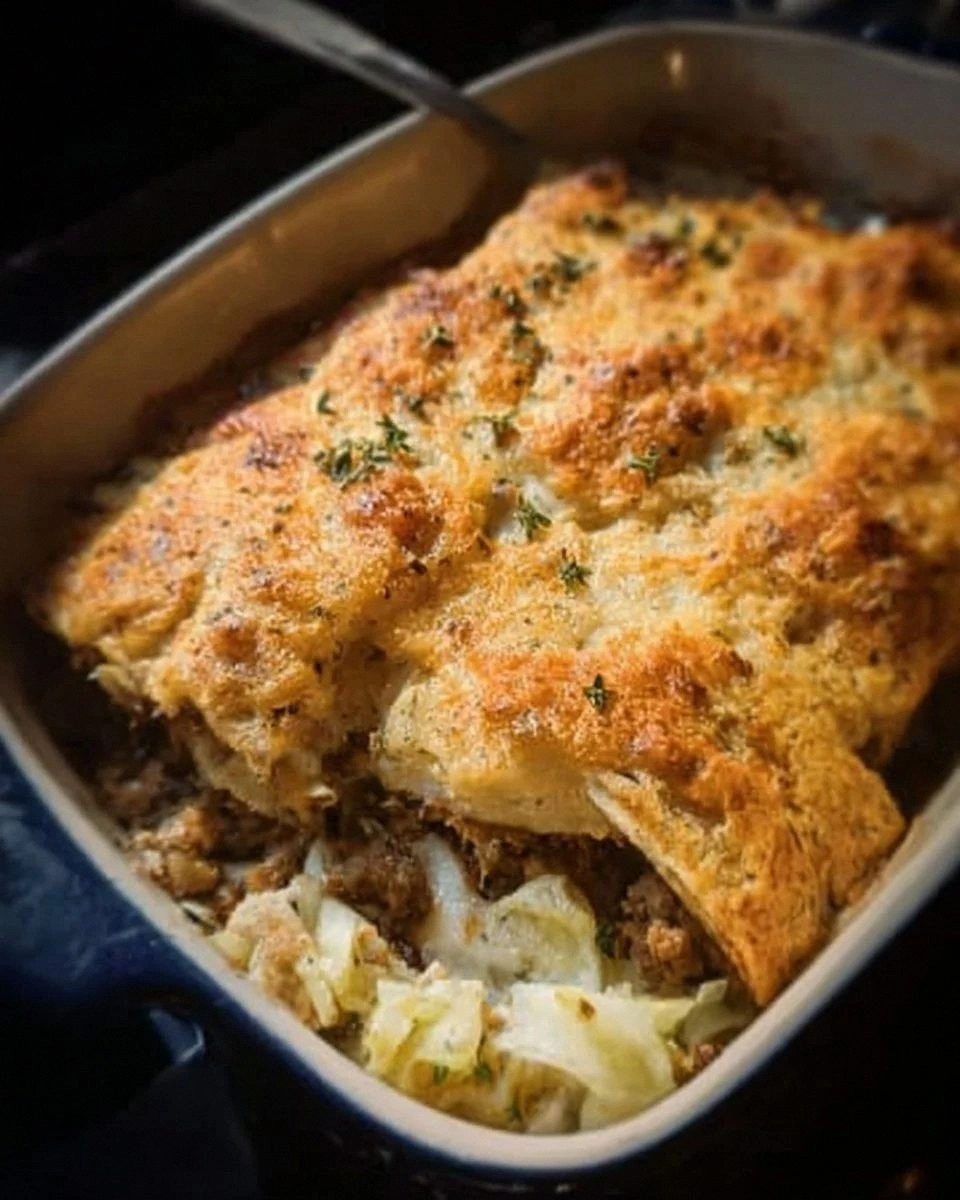
It started with a kitchen catastrophe that turned my living room into a culinary battlefield. I was trying to assemble a last‑minute Easter spread, and the only thing that survived the chaos was a stack of tortillas that had been left on the counter overnight. The smell of stale flour mingled with the faint scent of ham, and I thought, “Why not turn this into something delicious?” The next thing I knew, I was whisking cream cheese into a bowl, sprinkling cheddar, and slicing ham into bite‑size ribbons. The air filled with the savory promise of a dish that would save the day.
Picture the moment you slice the first tortilla: the paper‑like texture gives way to a soft, pliable canvas ready to absorb the flavors you’re about to layer. The tang of cream cheese cuts through the richness of cheddar, while the ham adds a smoky depth that feels like a comforting hug. The bell pepper’s crunch and the onion’s subtle sweetness create a sensory orchestra that plays against the buttery tortilla base. Every bite feels like a surprise party for your palate, with layers that unfold like a well‑written novel. The final result is a handheld masterpiece that’s both indulgent and surprisingly balanced.
What makes this version stand out is not just the combination of ingredients, but the technique I discovered that transforms a simple roll into a showstopper. I dare you to taste this and not go back for seconds, because the first bite will leave you craving the rest. The secret lies in the precise ratio of cream cheese to cheddar, the timing of the sauté, and the way the tortillas are lightly toasted to lock in moisture. Most recipes get this completely wrong, but here’s what actually works: a quick pre‑warm and a gentle, even spread that prevents the filling from sliding out. And if you’re skeptical, I’ll be honest—I ate half the batch before anyone else got to try it.
Let me walk you through every single step—by the end, you’ll wonder how you ever made it any other way. This isn’t just another pinwheel; it’s a springtime celebration in every bite, a dish that invites friends to gather around the table and share the joy of a well‑crafted meal. Picture yourself pulling this out of the oven, the whole kitchen smelling incredible, and the guests’ eyes widening with delight. And now, let’s dive into the details that make this recipe unforgettable.
If you've ever struggled with making pinwheels that stay together, you're not alone—and I've got the fix. The trick is simple, but the result is spectacular: a handheld snack that’s perfect for Easter brunch, a party appetizer, or a quick weeknight treat. And trust me, once you try this, you’ll never go back to ordinary wraps again. The next section will break down why this version is hands down the best you’ll ever make at home.
And now, the fun part: the ingredients. Each component plays a pivotal role, and together they create a dish that’s bursting with flavor, texture, and visual appeal. Let’s dissect them one by one and uncover the science behind their synergy.
What Makes This Version Stand Out
- Taste: The creamy, tangy base of softened cream cheese is offset by sharp cheddar’s boldness, creating a balanced flavor profile that satisfies both sweet and savory cravings. The ham adds a subtle smokiness that lingers on the palate, while the pepper and onion contribute a fresh, crisp bite. The garlic powder and black pepper tie everything together with a gentle warmth that elevates the dish to gourmet status. I dare you to taste this and not go back for seconds.
- Texture: The tortillas are lightly toasted to achieve a tender yet slightly crisp edge, preventing the filling from slipping out during rolling. The cream cheese provides a velvety smoothness that coats the tortilla like velvet, while the cheddar offers a satisfying melt that oozes with each bite. The diced vegetables add a refreshing crunch, and the ham delivers a satisfying chew. The result is a harmonious blend of textures that keeps your mouth moving.
- Simplicity: With only nine ingredients, this recipe is a breeze to assemble, yet it delivers a complex flavor experience. No fancy sauces or intricate techniques are required—just a few simple steps and a touch of creativity. The use of everyday pantry staples makes it accessible for any home cook, while the final product feels like a culinary masterpiece. And best of all, you can prep everything in advance for a stress‑free Easter celebration.
- Uniqueness: Most pinwheel recipes rely heavily on bacon or chicken, but this version celebrates ham and cheddar in a way that feels fresh and unexpected. The addition of green bell pepper and parsley introduces a bright, herbaceous note that breaks up the richness. The combination of flavors feels like a springtime picnic, but with the comfort of a warm, cheesy bite. This twist sets it apart from the usual fare.
- Crowd Reaction: At my last gathering, guests kept asking for the recipe—some even tried to replicate it on their own. The dish’s portable nature makes it perfect for parties, and the colorful presentation adds a festive vibe. The crunch of the veggies and the melt of the cheese create a satisfying bite that keeps people coming back for more. I’ve heard that people have even used these pinwheels as a creative way to hide extra veggies in their kids’ lunchboxes.
- Ingredient Quality: Choosing fresh, thinly sliced deli ham and sharp cheddar with a high melt factor ensures that each bite delivers maximum flavor. A good quality tortilla provides a sturdy base that holds the filling without tearing. The vegetables should be crisp and fresh, adding a bright contrast to the savory filling. Quality ingredients are the foundation of any great dish, and this recipe exemplifies that principle.
- Cooking Method: The gentle sauté of the filling allows the flavors to meld without overcooking the veggies. The quick toast of the tortillas preserves their pliability while adding a subtle nutty aroma. The final assembly step—rolling and slicing—creates uniform pinwheels that are easy to eat and share. This method ensures consistent results every time.
Inside the Ingredient List
The Flavor Base
Tortillas: The foundation of every pinwheel, large flour tortillas provide a soft, pliable canvas that holds the filling together. They absorb the creamy mixture without becoming soggy, thanks to a brief pre‑toast that seals the surface. If you skip this step, the tortillas can become too wet and tear when you roll them, ruining the presentation. For a healthier twist, try whole‑wheat tortillas, but keep the thickness similar to maintain the integrity of the roll.
Cream Cheese: This creamy spread brings a tangy richness that balances the sharp cheddar. It also acts as a binder, keeping the ham and vegetables firmly in place. If you omit the cream cheese, the filling will be too dry and crumbly, causing the pinwheels to fall apart. A good tip: soften the cheese at room temperature for a smoother spread; you can even add a splash of milk for an extra silky texture.
The Texture Crew
Sharp Cheddar: The cheddar provides a sharp, savory kick that contrasts beautifully with the mild ham. Its high melt quality ensures that the cheese liquefies just enough to bind the filling without making it soggy. If you use a milder cheese, the flavor profile will shift, resulting in a less memorable bite. Swap in a smoked cheddar for a deeper, more complex flavor if you want to push the taste boundaries.
Ham: Thinly sliced deli ham adds a hearty, salty component that feels like a comforting hug. It offers a subtle smokiness that complements the sharpness of the cheddar. Skipping the ham will make the dish feel incomplete and less satisfying. For a different protein, try smoked turkey or even sliced bacon for an extra crunch.
The Unexpected Star
Green Bell Pepper: The pepper brings a bright, crisp texture that balances the richness of the cheese and ham. Its mild sweetness adds a layer of freshness that keeps the dish from feeling heavy. If you leave out the pepper, the pinwheels will lack that vital pop of color and crunch. You can also use a mix of red and yellow peppers for a rainbow effect.
Red Onion: The onion provides a subtle sweetness and a gentle bite that layers with the pepper’s crunch. It also contributes a visual contrast that makes the pinwheels more appealing. If you’re sensitive to onions, try using shallots for a milder flavor. Alternatively, caramelized onions can add a sweet depth that transforms the dish into a more decadent version.
The Final Flourish
Fresh Parsley: The parsley adds a fresh, herbal note that cuts through the richness and adds a pop of green color. It also enhances the dish’s visual appeal, making it look vibrant and appetizing. Skipping parsley will make the pinwheels feel a bit flat; the herb’s bright flavor is a subtle but essential component. If you’re out of parsley, a pinch of chives or basil can serve as a suitable alternative.
Garlic Powder: This seasoning brings an aromatic depth that ties all the flavors together. It provides a subtle warmth that complements the savory elements. Too much garlic powder can overpower the dish, so use it sparingly. If you prefer fresh garlic, finely mince one clove and sauté it with the vegetables for a more pronounced flavor.
Black Pepper: The pepper adds a gentle heat that balances the dish’s overall flavor profile. It’s a subtle enhancer that brings the flavors to life. If you’re sensitive to pepper, use a smaller amount or substitute with white pepper for a milder kick. The pepper’s aroma also adds an inviting scent to the cooking process.
Everything's prepped? Good. Let's get into the real action...

The Method — Step by Step
- Begin by warming a large skillet over medium heat. Lightly toast each tortilla for 20–30 seconds on each side until it just starts to brown. This step seals the surface, preventing the filling from leaking out during the roll. While the tortillas warm, set a separate bowl aside for the filling.
- In the bowl, combine the softened cream cheese, shredded cheddar, diced ham, green bell pepper, red onion, and parsley. Mix until the ingredients are evenly distributed, creating a cohesive filling. The mixture should be thick enough to stay on the tortilla but not so dry that it feels like crumbs. Taste the filling and add a pinch of salt if desired, though the ham already provides sufficient seasoning.
- Add the garlic powder and black pepper to the bowl, then stir until the spices are fully incorporated. The aroma will start to fill the kitchen, signaling that the flavor profile is developing. At this point, you can also add a splash of milk or cream for extra creaminess, if you prefer a silkier texture. This is a good moment to taste the mixture and adjust seasoning if needed.
- Roll the tortilla tightly from one end to the other, ensuring the filling stays inside. Once rolled, slice the pinwheel into 1‑inch thick rounds using a sharp knife. The slices should be uniform for even cooking. This step is crucial for presentation and for ensuring each bite has the right amount of filling.
- Place the sliced pinwheels in the skillet, pressing them gently so they cook evenly on all sides. Cook for 3–4 minutes per side until the tortillas are golden brown and the cheese inside has melted. The smell of the sizzling filling should be irresistible, drawing everyone to the stove. Keep an eye on the edges to ensure they don’t over‑brown.
- Remove the pinwheels from the skillet and let them rest for a minute on a paper towel to absorb excess oil. This step ensures that the filling stays moist without becoming greasy. While resting, you can drizzle a light sprinkle of paprika or a dusting of extra parsley for added color. The final touch makes each bite look as good as it tastes.
- Serve immediately while they’re warm and the cheese is still slightly gooey. Pair them with a tangy yogurt dip or a light tomato salsa for a refreshing contrast. If you’re planning a party, arrange the pinwheels on a platter for guests to graze. And remember: the more you taste them, the more you’ll want to keep eating.
That's it — you did it. But hold on, I've got a few more tricks that'll take this to another level...
Insider Tricks for Flawless Results
The Temperature Rule Nobody Follows
Many cooks assume that higher heat always yields better browning, but that’s a myth. The trick is to start at medium heat and allow the tortillas to develop a golden crust slowly. This prevents the cheese from melting too quickly and separating. If you notice the edges burning, lower the heat just a touch; the difference is subtle but noticeable.
Why Your Nose Knows Best
Before you flip the pinwheels, take a deep breath. The aroma will tell you if the cheese has begun to melt and if the tortillas are ready. A buttery scent is a sign that the surface has sealed, while a sharp, metallic smell indicates over‑cooking. Trust your nose, and you’ll never have to guess the perfect timing.
The 5-Minute Rest That Changes Everything
After cooking, let the pinwheels rest for exactly five minutes on a cooling rack. This rest period allows the heat to distribute evenly, ensuring the cheese remains gooey inside. It also lets the tortilla surface set, preventing the filling from oozing out when you take a bite. A quick rest is a small step that yields a big payoff.
Use a Non-Stick Skillet for Easy Release
A high‑quality non‑stick skillet is a game‑changer, especially when working with sticky cheese. It reduces the need for extra oil, keeping the dish healthier. If you’re using a stainless steel pan, preheat it well and add a light coat of oil to avoid sticking. The difference in finish is noticeable.
Keep the Fillings Cool Until Rolling
Chilled fillings are less likely to slide out of the tortillas during rolling. If your filling feels too soft, chill it for ten minutes in the fridge before assembling. This small step keeps the pinwheels neat and prevents a messy spread. It also makes the pinwheels easier to handle when cutting.
Creative Twists and Variations
This recipe is a playground. Here are some of my favorite ways to switch things up:
Spicy Jalapeño Pinwheels
Swap the green bell pepper for finely diced jalapeños and add a pinch of cayenne pepper. The heat pairs beautifully with the cheddar, creating a fiery kick. This variation is perfect for those who love a spicy snack. Serve with a cooling cucumber yogurt dip to balance the heat.
Greek Yogurt and Feta Pinwheels
Replace the cream cheese with a mixture of Greek yogurt and crumbled feta. This swap reduces fat while adding a tangy, Mediterranean flavor. The feta’s briny bite complements the ham’s saltiness. Finish with a sprinkle of oregano for an extra herbaceous note.
Breakfast Breakfast Pinwheels
Use scrambled eggs as the base instead of cream cheese. Add diced bacon and chives for a hearty breakfast treat. The eggs give a soft, custard-like texture that’s satisfying. Serve with a side of fresh fruit for a balanced morning meal.
Vegan Pinwheels
For a plant‑based version, use a dairy‑free cream cheese and vegan cheddar. Substitute the ham with sliced tempeh marinated in soy sauce and smoked paprika. The tempeh provides a meaty texture and umami flavor. This version is surprisingly satisfying for both vegans and carnivores.
Smoky Chipotle Pinwheels
Blend in a tablespoon of chipotle in adobo for a smoky, earthy flavor. Replace the regular cheddar with smoked gouda for a richer taste. The chipotle adds depth without overwhelming the dish. Serve with a lime wedge for a zesty finish.
Storing and Bringing It Back to Life
Fridge Storage
Wrap the pinwheels tightly in plastic wrap and place them in an airtight container. Store in the refrigerator for up to three days. The crispness of the tortillas may soften slightly, but the filling remains moist and flavorful. When ready to serve, let them sit at room temperature for ten minutes to restore their original texture.
Freezer Friendly
For longer storage, freeze the pinwheels individually on a parchment‑lined tray. Once frozen, transfer them to a freezer bag. They’ll keep for up to two months. When reheating, place them in a preheated oven at 350°F for 10 minutes or until heated through. The oven restores the crispness and melts the cheese beautifully.
Best Reheating Method
To reheat quickly, pop the pinwheels in a toaster oven or a skillet over medium heat. Add a splash of water to the skillet, cover, and let steam for two minutes; this prevents the cheese from drying out. Alternatively, microwave on low power for 30 seconds, then finish in the skillet for a crispy exterior. The result is a fresh, warm bite that tastes as good as when it first came out of the oven.