It was a Saturday night when the kitchen became a battlefield and I, the accidental chef, had a moment of culinary epiphany. I had just pulled a bag of frozen chicken breasts from the freezer, a handful of panko crumbs, and a jar of mayonnaise that had been gathering dust for months. The air was thick with the scent of soy sauce and paprika, and my stove was already humming like a contented beast. I stared at the chicken, half‑cooked, half‑raw, and whispered, “Why not make a bowl that’s both crunchy and molten?” The idea struck me like a lightning bolt, and I decided that this would be the dish that would forever change how I think about comfort food.
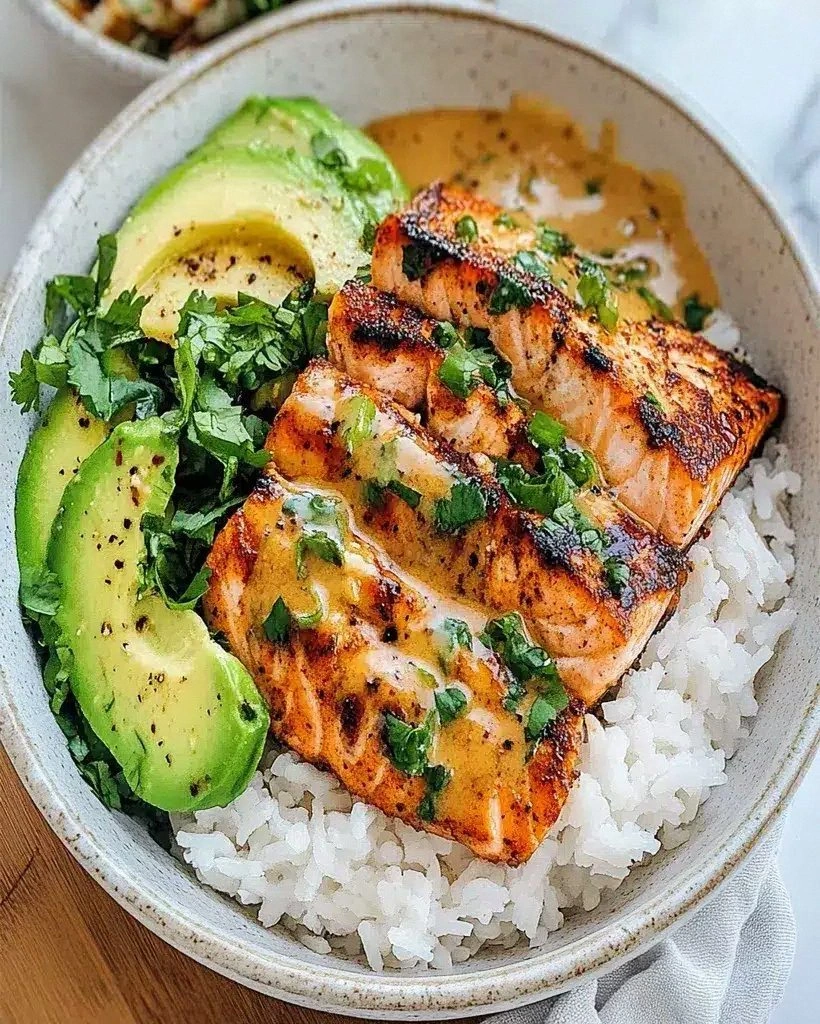
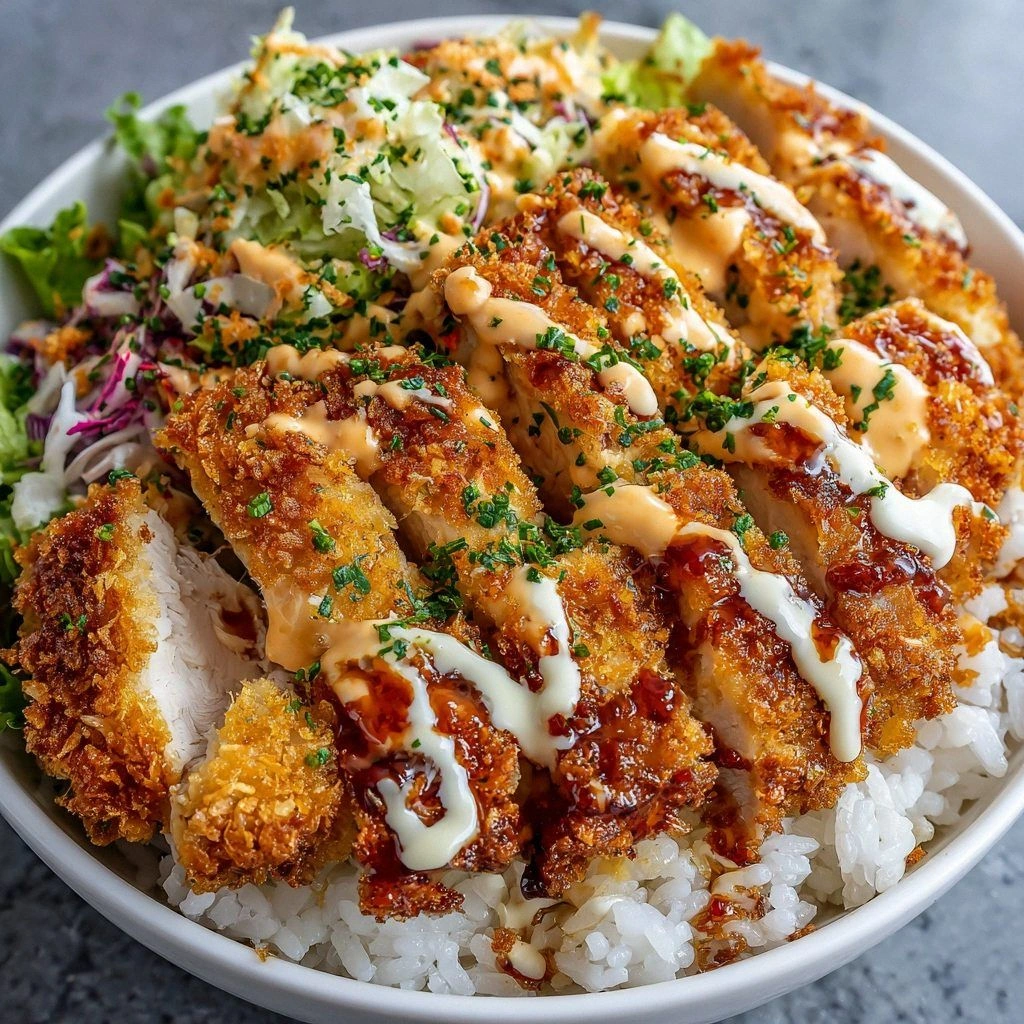
Picture this: a steaming mound of fluffy rice, the golden, crackling edges of chicken that crack like brittle ice, and a silky, spicy mayo that coats every bite like velvet. The moment the first piece hits the skillet, a sizzle erupts, filling the room with a promise of flavor. I dare you to taste this and not go back for seconds. It’s a symphony of textures that starts with a crunch, moves into a melt, and ends with a bright, herbaceous finish from the green onions. The heat from the sriracha dances on your tongue, while the soy sauce and garlic powder ground the dish in savory depth. If you’ve ever struggled to get the right balance between crunch and sauce, you’re not alone — and I’ve got the fix.
What sets this version apart isn’t just the ingredients; it’s the method, the mindset, and the attention to detail. I’ve spent hours experimenting with coating ratios, frying temperatures, and sauce consistencies, and the results have been nothing short of transformative. Most recipes get this completely wrong, leaving you with soggy chicken or a bland mayo. Here, everything works in harmony, from the first bite to the last drizzle. The result? A bowl that feels like a high‑end restaurant dish but is made in your own kitchen. Picture yourself pulling this out of the oven, the whole kitchen smelling incredible, and watching your friends gasp in awe. This is hands down the best version you’ll ever make at home.
Okay, ready for the game‑changer? The secret lies in a few small tweaks that elevate the entire dish. By the end of this guide, you’ll wonder how you ever made it any other way, because the techniques and ingredients I share will become your new go‑to arsenal for crispy, flavorful bowls. Let me walk you through every single step — by the end, you’ll wonder how you ever made it any other way.
What Makes This Version Stand Out
- Crunch: The panko breadcrumb coating, combined with a two‑step dredging process, creates a shell that’s light yet impossibly crisp. Each bite shatters like thin ice, releasing a satisfying crackle that echoes the anticipation of the next bite.
- Heat: A bold blend of sriracha and soy sauce in the mayo gives the dish a kick that’s both fiery and balanced. The heat lands on the palate without overpowering the other flavors, making it crowd‑pleasing for all spice levels.
- Texture: The creamy mayo coats the chicken like a velvety glaze, while the rice provides a soft, comforting base. The contrast between the crunchy shell and the silky sauce keeps the dish engaging from the first bite to the last.
- Flavor Depth: Garlic powder, smoked paprika, and a splash of soy sauce work together to create layers of umami that linger long after the last bite.
- Simplicity: The recipe uses only 12 ingredients, all of which you’re likely to have on hand. No obscure spices, no fancy gadgets — just good cooking and a bit of patience.
- Make‑Ahead Potential: The chicken can be breaded and frozen, and the spicy mayo can be pre‑made. Assemble just before serving, and you’ll have a meal ready in under 30 minutes.
- Versatility: Swap chicken for tofu, or use cauliflower rice for a low‑carb option. The base is adaptable, making it a go‑to for any dietary preference.
Alright, let's break down exactly what goes into this masterpiece...
Inside the Ingredient List
The Flavor Base
The foundation of any great bowl starts with the rice. I recommend steaming 4 cups of cooked rice for 4 servings; it absorbs the sauce and provides a neutral canvas that lets the chicken shine. If you’re looking for a healthier twist, try cauliflower rice; it keeps the texture but cuts carbs dramatically. Skipping the rice would leave you with a dry dish, so keep it on the side.
The Texture Crew
Panko breadcrumbs are the unsung hero of crunch. Unlike regular breadcrumbs, panko has a larger, airy structure that expands during frying, giving you that coveted light, airy shell. All‑purpose flour is the glue that holds the panko to the chicken; a light dusting ensures the crumbs stick perfectly. Eggs act as a second binder, creating a smooth, even coating that fries to a golden hue. If you’re vegan, a flax egg will do the trick, but the texture will differ slightly.
The Unexpected Star
Mayonnaise is the creamy base that turns the mayo into a silky sauce. When combined with sriracha, soy sauce, garlic powder, and paprika, it becomes a flavor powerhouse that coats the chicken like a velvet ribbon. The mayo’s richness balances the heat, preventing the dish from becoming overly spicy. If you’re lactose intolerant, Greek yogurt can replace mayo for a lighter version, but the mouthfeel will change.
The Final Flourish
Green onions add a fresh, bright crunch that cuts through the richness of the sauce and the heaviness of the chicken. They’re also a visual pop of color that makes the bowl look Instagram‑ready. A pinch of salt and pepper is essential for seasoning; without them, the flavors would be flat and uninspired. Remember, a little goes a long way—taste as you go to avoid over‑salting.
Everything's prepped? Good. Let's get into the real action...
The Method — Step by Step
- Begin by patting the chicken breasts dry with paper towels. A dry surface ensures the flour and panko adhere properly. Season each piece generously with salt and pepper, then set aside while you prepare the coating station. This step might seem trivial, but it’s the foundation for a crisp exterior.
- Create a three‑step dredging station: first a shallow dish of all‑purpose flour, second a bowl of beaten eggs, and third a bowl of panko breadcrumbs mixed with 1 teaspoon of smoked paprika. The paprika adds subtle smokiness and a vibrant color that turns the coating into a visual masterpiece. Lightly coat each chicken breast in flour, tapping off excess, then dip into the eggs, and finally press into the panko mixture.
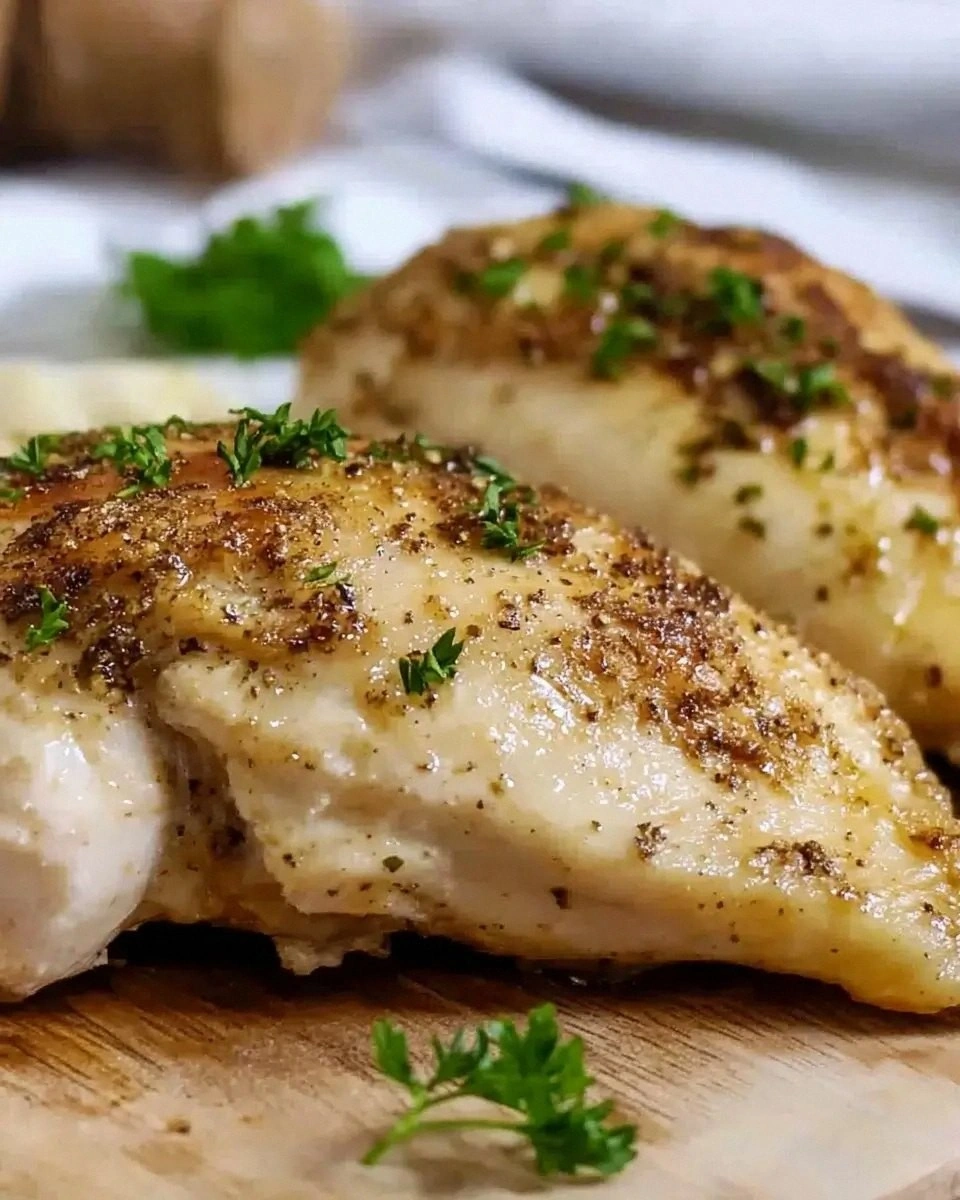
- Heat 2 tablespoons of neutral oil (such as canola or peanut) in a large skillet over medium‑high heat. When the oil shimmers but isn’t smoking, add the chicken pieces. The first few seconds should produce a bright golden hue; that’s the sound of crispness forming. Flip after 3–4 minutes per side, or until the internal temperature reaches 165°F (74°C).
- While the chicken fries, whisk together the mayo, sriracha (2 tablespoons), soy sauce (2 tablespoons), garlic powder (1 teaspoon), and a pinch of salt in a small bowl. The mixture should be smooth and slightly thick; if it’s too thin, add a splash of water or a teaspoon of flour to thicken. This spicy mayo will coat the chicken and rice like a velvet ribbon.
- Once the chicken reaches the desired crispness, transfer it to a paper‑towel‑lined plate to drain excess oil. Let it rest for 5 minutes; this allows the juices to redistribute and keeps the chicken moist inside while the exterior remains crunchy.
- Divide the cooked rice into 4 bowls, creating a fluffy base that will soak up the sauce. Spoon the spicy mayo over the rice, swirling gently to coat evenly. The mayo’s silky texture should coat each grain, creating a glossy, flavorful foundation.
- Place each chicken breast on top of the rice, then drizzle a little more mayo around the edges if desired. The heat from the chicken will melt the mayo slightly, creating a luscious, molten center that contrasts beautifully with the crunchy shell.
- Garnish with chopped green onions, giving the bowl a bright, fresh crunch that balances the richness. Serve immediately while the chicken is still hot and the sauce is silky. If you’re a fan of extra heat, add an extra drizzle of sriracha or a sprinkle of crushed red pepper.
- Optional: For a smoky twist, finish the chicken under a broiler for 1–2 minutes after frying, watching closely so it doesn’t burn. The broiler will caramelize the coating, giving it an extra layer of flavor.
- Serve immediately, and watch the bowl become a work of culinary art. The crunch, the heat, the silky sauce, and the fresh green onion all combine to create a dish that feels both indulgent and wholesome. That sizzle when it hits the pan? Absolute perfection.
That's it — you did it. But hold on, I've got a few more tricks that'll take this to another level...
Insider Tricks for Flawless Results
The Temperature Rule Nobody Follows
Many cooks let the oil get too hot, which results in burnt exteriors and raw interiors. Keep the oil around 350°F (175°C); a quick test is to drop a small breadcrumb in—if it sizzles immediately and turns golden in 30 seconds, you’re in the sweet spot. This temperature ensures the coating crisps without overcooking the chicken.
Why Your Nose Knows Best
Before you start frying, take a deep breath. The aroma of garlic powder and smoked paprika should be unmistakable. If you don’t smell it, the seasoning is off. A strong scent indicates that the flavor base is ready, and you’ll know the chicken will taste incredible.
The 5‑Minute Rest That Changes Everything
Letting the chicken rest after frying lets the juices redistribute, preventing a dry interior. I always place the chicken on a wire rack over a sheet of parchment to keep it crisp. A short rest also makes the mayo coat more evenly because the surface isn’t steaming hot.
Double‑Dredge for Extra Crunch
If you’re a crunch enthusiast, try double‑dredging: after the first coat of panko, dip the chicken back into the beaten eggs and then back into the breadcrumb mixture. The second coating creates an even thicker shell that holds up to the heat of the mayo.
The Right Pan Size
Using a wide, shallow pan allows the chicken pieces to fry without crowding. Overcrowding reduces the oil temperature and creates soggy edges. If you’re short on pan space, fry in batches to maintain crispness.
Creative Twists and Variations
This recipe is a playground. Here are some of my favorite ways to switch things up:
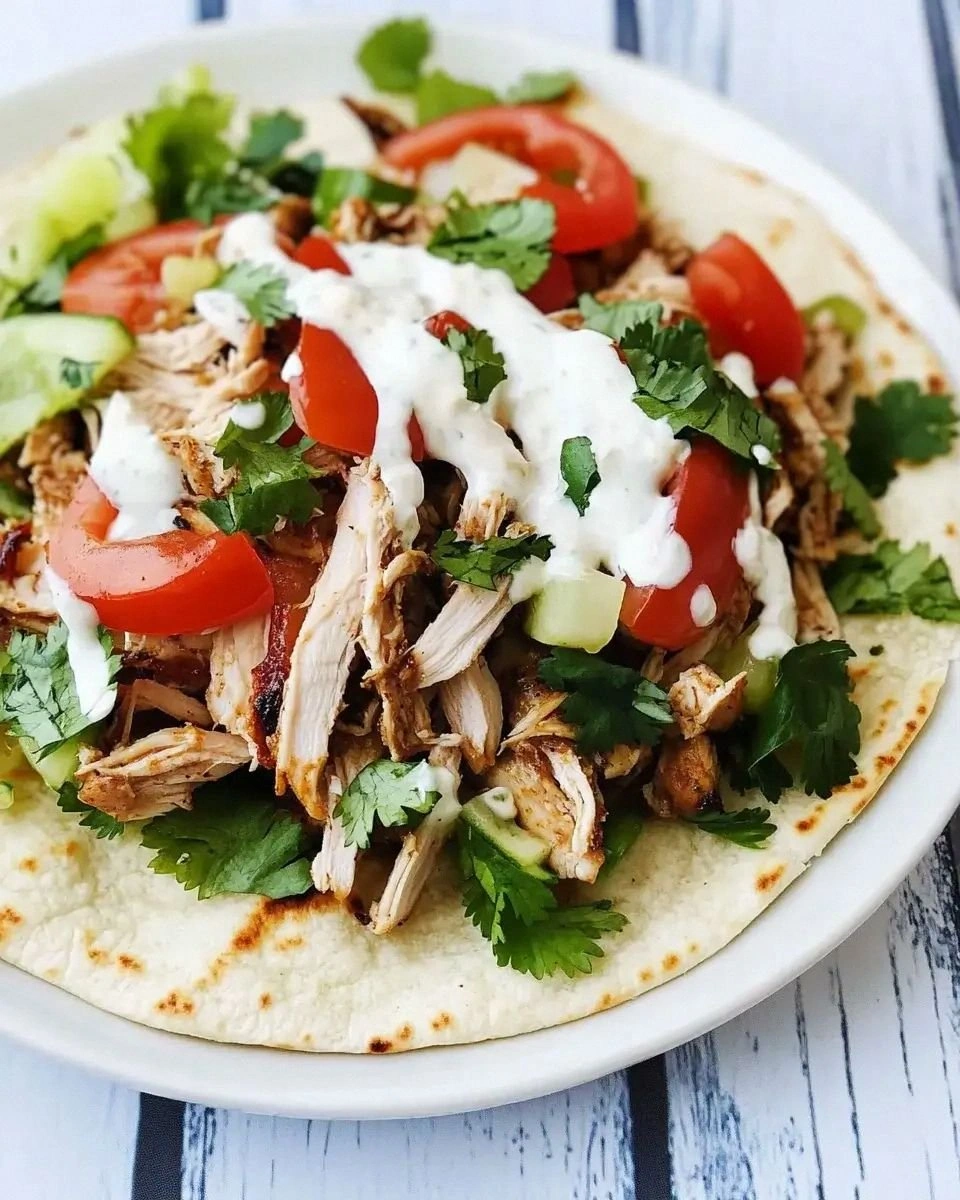
Taco‑Style Bowl
Swap the rice for corn tortillas, sprinkle with shredded lettuce, and top with a dollop of sour cream. The crunchy chicken pairs with the soft tortillas, and the spicy mayo becomes a zesty taco sauce. It’s perfect for a quick taco night.
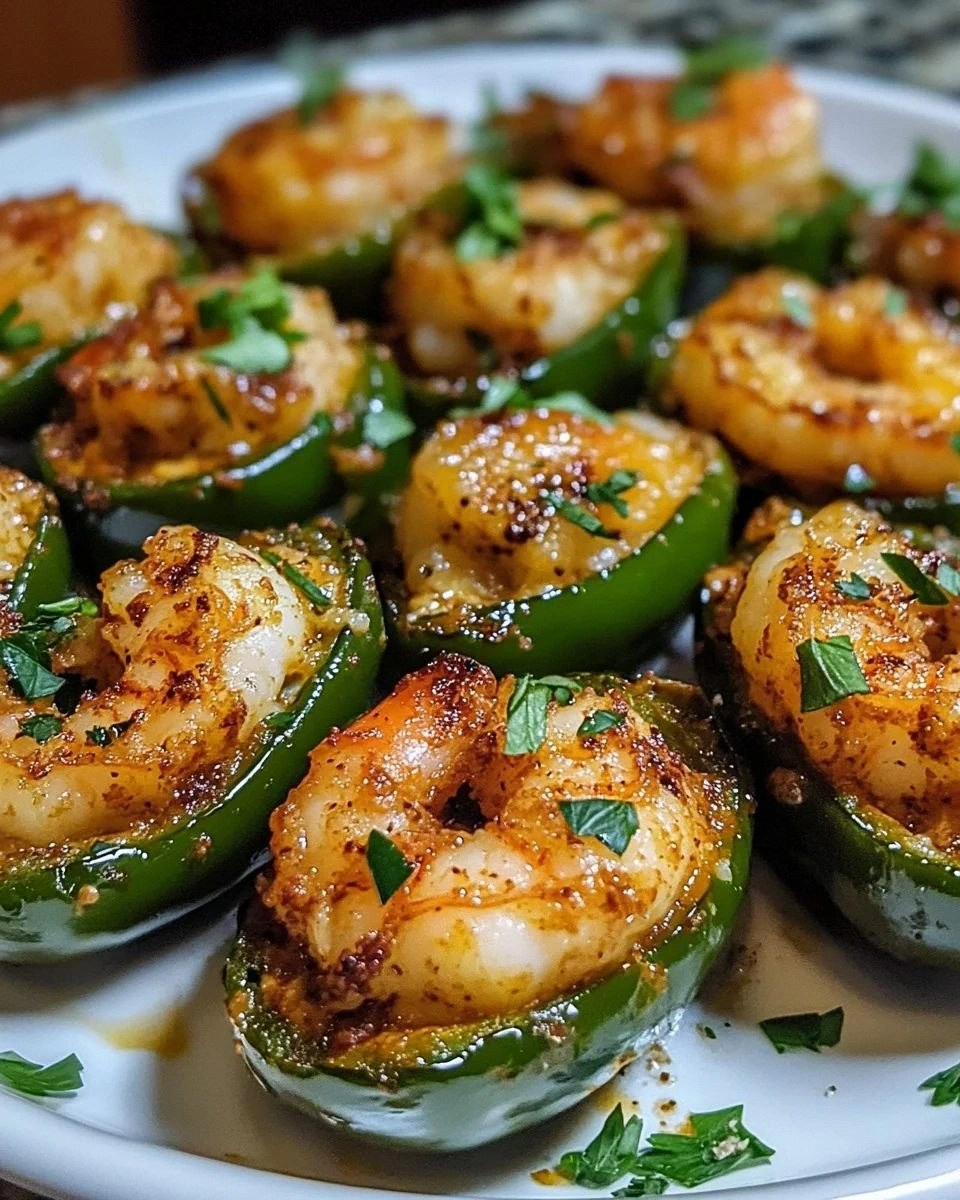
Asian Fusion Bowl
Add sliced cucumber, shredded carrots, and a drizzle of hoisin sauce for a sweet‑savory balance. Use a sesame‑infused oil when frying the chicken for an extra layer of flavor. The bowl feels like a sushi roll on a plate.
Mediterranean Twist
Replace the panko with a mix of crushed pita chips and sprinkle with oregano. Swap the mayo for tzatziki, and garnish with kalamata olives. The result is a Mediterranean‑inspired bowl that’s both familiar and fresh.
Low‑Carb Version
Use cauliflower rice instead of regular rice, and coat the chicken with almond flour instead of all‑purpose flour. The dish remains crispy and flavorful while keeping carbs low. It’s ideal for keto or paleo enthusiasts.
Vegan Takeaway
Swap the chicken for marinated tofu cubes, and use a vegan mayo or blended cashews for the sauce. The tofu absorbs the flavors beautifully, and the crunchy coating stays crisp. It’s a plant‑based bowl that satisfies everyone.
Dessert‑Inspired Bowl
For a sweet surprise, replace the spicy mayo with a drizzle of honey‑soy glaze and top with toasted coconut flakes. The sweet and savory combination feels like a dessert bowl, perfect for dessert cravings.
Storing and Bringing It Back to Life
Fridge Storage
Store the chicken in an airtight container for up to 4 days. Keep the rice and sauce separate until you’re ready to serve. Reheat the chicken in a skillet over medium heat for 2–3 minutes per side; this restores the crunch without drying it out.
Freezer Friendly
Freeze the breaded chicken before frying. Place the frozen pieces on a baking sheet lined with parchment and freeze until solid, then transfer to a freezer bag. When ready, bake at 400°F (200°C) for 25 minutes, then finish in the skillet for a crisp finish.
Best Reheating Method
Reheat the rice in the microwave for 30 seconds, then stir in a splash of water or broth to keep it moist. Add the chicken and sauce, then place the bowl in a preheated oven at 350°F (175°C) for 5 minutes. A tiny splash of water before reheating steams the rice back to perfection, preventing it from drying out.