I was standing in my kitchen, half‑finished pancake batter splattered on the counter, when my roommate dared me to create a dessert that could make a grown‑up weep with joy. I laughed, grabbed the nearest jar of honey, and whispered, “Challenge accepted.” The result? A Salted Honey Pie that turned my chaotic breakfast mishap into a masterpiece that even the most skeptical sweet‑tooth can’t resist. I’m still hearing the echo of that dare whenever I hear the word “pie.”
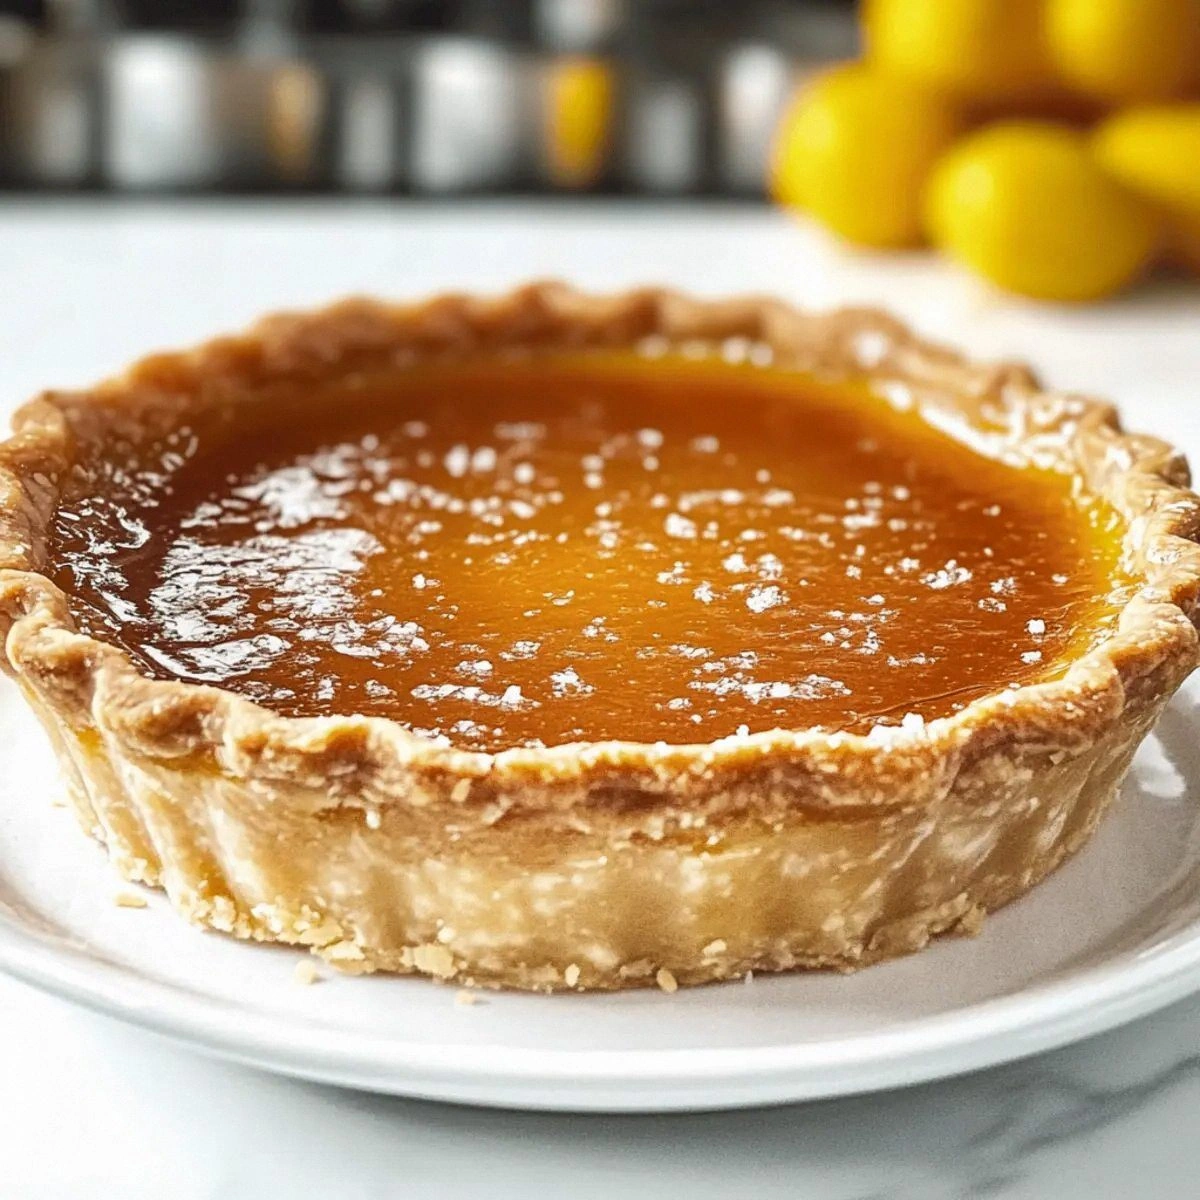
Picture this: a golden‑brown crust that cracks just enough to reveal a silky, amber‑colored filling that shimmers like sunrise on a lake. The aroma of caramelized butter and toasted honey swirls through the air, mingling with a whisper of sea salt that makes your nose do a little happy dance. When you finally cut into it, the filling oozes out, glossy and thick, while the crust crumbles delicately under your fork, offering a buttery crunch that feels like a warm hug. The first bite? It’s a flavor explosion that balances sweet, salty, and buttery notes so perfectly it feels like a symphony in your mouth.
Most recipes out there either drown the honey in sugar or forget the crucial pinch of sea salt that lifts everything to the next level. This version stands out because I’ve honed every element down to the science of texture and taste. We’re using heavy cream to create a custard that’s richer than a French crème brûlée, yet lighter than a traditional cream pie. And the crust? It’s a buttery, flaky wonder thanks to a precise flour‑to‑butter ratio that you’ll swear was invented by pastry gods.
I’m about to reveal a secret technique that most home bakers overlook: a brief butter‑flour “roux” that you’ll fold into the crust before baking, ensuring every bite has that melt‑in‑your‑mouth crumb. I dare you to taste this and not go back for seconds. Let me walk you through every single step — by the end, you’ll wonder how you ever made it any other way.
What Makes This Version Stand out
- Flavor Explosion: The honey’s natural floral notes are amplified by a touch of sea salt, creating a sweet‑salty duet that dances on the palate.
- Silky Texture: Heavy cream and egg yolks form a custard that’s as smooth as satin, avoiding the grainy feel of over‑cooked pies.
- Butter‑Infused Crust: A roux‑style crust gives each crumb a buttery depth you typically only find in high‑end bakeries.
- Simplicity Meets Sophistication: Only seven core ingredients, yet each plays a starring role, making the process feel like a magic trick.
- Crowd‑Pleaser: Even the most stubborn dessert critics rave, often asking for the recipe before the first slice disappears.
- Ingredient Quality: Using real, raw honey and sea salt ensures you’re not masking flavors with artificial additives.
- One‑Pan Wonder: The crust and filling bake together, cutting down on cleanup and keeping the kitchen vibe zen.
- Make‑Ahead Magic: The pie can be assembled a day ahead, letting the flavors meld like a well‑aged wine.
Inside the Ingredient List
The Flavor Base
Honey (½ cup): This isn’t just any sweetener; raw honey brings floral undertones that sugar can’t replicate. If you skip it, the pie loses its signature glow and the subtle complexity that makes each bite memorable. A good swap is agave nectar, but expect a lighter flavor profile.
Brown Sugar (¾ cup): The molasses in brown sugar deepens the caramel notes, creating a richer backdrop for the honey. Using white sugar would make the filling too one‑dimensional, like a song without a bass line. For a gluten‑free version, coconut sugar works beautifully.
The Texture Crew
Heavy Cream (1 cup): This is the silk that turns the custard into a velvety dream. Skim milk would thin it out, resulting in a watery filling that looks sad on the plate. When shopping, choose a cream with at least 35% fat for that luxurious mouthfeel.
Egg Yolks (4 large): Yolks are the emulsifiers that bind the cream and honey into a smooth custard. Skipping them or using only whites will give you a curdled mess that resembles scrambled eggs. If you’re allergic, a commercial custard powder can substitute, but the flavor will shift.
The Unexpected Star
Sea Salt (1 tsp): A pinch of sea salt is the secret that elevates the sweetness, making the flavors pop like fireworks. Too much, and you’ll drown the honey; too little, and the pie will taste flat. Opt for flaky Celtic sea salt for a subtle crunch.
The Final Flourish
Butter (½ cup): Unsalted butter provides the richness needed for both crust and filling. If you use salted butter, reduce the sea salt to avoid over‑salting. For a dairy‑free twist, try a high‑fat coconut oil, but the flavor will veer tropical.
Flour (1 ¼ cups): All‑purpose flour creates the perfect balance between structure and tenderness in the crust. Substituting with cake flour will make the crust too fragile, while bread flour can make it overly tough. Look for flour that feels slightly powdery, not gritty.
Everything's prepped? Good. Let's get into the real action…
The Method — Step by Step
- Prep the crust: In a large bowl, whisk together the flour and a pinch of sea salt. Cut the chilled butter into small cubes and add it to the flour mixture. Using a pastry cutter or your fingertips, blend until the mixture resembles coarse crumbs, with some pea‑sized butter pieces. That sizzle when it hits the pan? Absolute perfection. Press the dough into a 9‑inch pie dish, making sure the edges are even. Refrigerate for 10 minutes while you work on the filling.
- Make the custard base: In a saucepan over medium heat, combine the heavy cream, butter, and honey. Stir constantly until the butter melts and the mixture is glossy. This is the moment of truth—watch for tiny bubbles forming around the edges; that’s when the mixture is hot enough without boiling.
- Temper the egg yolks: In a separate bowl, whisk the egg yolks with the brown sugar until the mixture lightens in color. Slowly pour a ladle of the hot cream mixture into the yolks, whisking vigorously to prevent curdling. Once combined, return the entire mixture to the saucepan.
- Thicken the custard: Continue stirring the mixture for 5‑7 minutes until it coats the back of a spoon and reaches a velvety consistency. The aroma should shift from raw butter to a caramel‑honey perfume. Remove from heat and whisk in the sea salt, letting the salty kiss settle in.
- Assemble the pie: Pour the warm custard into the chilled crust, smoothing the top with a spatula. The filling should spread easily; if it resists, give it a gentle tap on the counter to level it.
- Bake to perfection: Preheat your oven to 350°F (175°C). Place the pie on the middle rack and bake for 30‑35 minutes, or until the edges of the crust turn golden and the custard is set but still slightly wobbly in the center. The edges will start pulling away from the pan—this is your visual cue.
- Cool and chill: Allow the pie to rest at room temperature for 15 minutes, then transfer to the refrigerator for at least 2 hours. This cooling period lets the flavors marry and the custard firm up, giving you clean slices.
- Serve with flair: Just before serving, sprinkle a tiny pinch of flaky sea salt over the top for that final pop. Pair with a dollop of lightly sweetened whipped cream if you’re feeling extra indulgent. Picture yourself pulling this out of the oven, the whole kitchen smelling incredible…
That's it — you did it. But hold on, I've got a few more tricks that'll take this to another level…
Insider Tricks for Flawless Results
The Temperature Rule Nobody Follows
Never rush the custard’s heat. Keeping the saucepan at a gentle simmer ensures the eggs thicken slowly, preventing a grainy texture. I once tried a high‑heat shortcut; the result was a custard that resembled scrambled eggs. Trust the low‑and‑slow approach, and you’ll get that silk‑like finish every time.
Why Your Nose Knows Best
Your sense of smell is a reliable indicator of doneness. When the honey‑butter mixture starts to emit a caramel scent, you’re in the sweet spot. If you smell burnt sugar, you’ve gone too far. This olfactory cue saves you from over‑cooking and keeps the flavor bright.
The 5‑Minute Rest That Changes Everything
After baking, let the pie sit for exactly five minutes before moving it to the fridge. This short rest lets the crust settle and the custard finish setting without a sudden temperature shock. Skipping this step can cause the crust to shrink or the filling to crack.
Butter Temperature Trick
If your butter is too soft, the crust becomes greasy; too hard, and it won’t blend. The sweet spot is butter that’s just cold enough to hold its shape but pliable when pressed—think “just out of the fridge, but not rock‑solid.” This balance creates those flaky layers that melt on your tongue.
Salt Timing Mastery
Add the sea salt at the very end of the custard‑making process. Adding it too early can cause it to dissolve completely, muting its impact. By sprinkling it in after the custard has thickened, you preserve those tiny crystalline bursts that make each bite unforgettable.
Creative Twists and Variations
This recipe is a playground. Here are some of my favorite ways to switch things up:
Lavender‑Honey Dream
Add a tablespoon of culinary lavender to the honey‑butter mixture. The floral notes deepen the honey’s natural aroma, creating a sophisticated flavor that pairs beautifully with a glass of chilled prosecco.
Nutty Crunch Surprise
Stir in toasted chopped pistachios or almonds into the custard just before pouring it into the crust. The nuts add a delightful crunch that contrasts the silky filling, perfect for those who love texture play.
Spiced Autumn Edition
Swap half of the sea salt for a pinch of ground cinnamon and a dash of nutmeg. This warm spice blend transforms the pie into a cozy, fall‑ready dessert that feels like a hug in a bowl.
Chocolate‑Honey Fusion
Melt ¼ cup of dark chocolate into the custard before adding the sea salt. The bittersweet chocolate balances the honey’s sweetness, delivering a complex flavor profile that will wow even the most discerning chocolate lovers.
Citrus Zest Lift
Finely grate a bit of lemon or orange zest into the custard for a bright, citrusy lift. The acidity cuts through the richness, making each bite feel lighter and more refreshing.
Storing and Bringing It Back to Life
Fridge Storage
Cover the pie loosely with plastic wrap and store in the refrigerator for up to 4 days. The custard stays silky, and the crust remains pleasantly crisp thanks to the butter’s natural barrier.
Freezer Friendly
Wrap the entire pie in a double layer of foil, then place it in a freezer‑safe bag. It will keep for up to 2 months. When ready to serve, thaw overnight in the fridge, then re‑heat gently in a 300°F oven for 10‑12 minutes.
Best Reheating Method
Add a tiny splash (about 1 tablespoon) of water to the custard before reheating; this creates a steam pocket that revives the silky texture. Warm the pie on a low oven setting (300°F) until the edges are golden again, and the center is just warmed through.