Picture this: I was standing in a cramped kitchen, the clock ticking, and a friend’s skeptical grin staring at me. “You’re going to burn that stew?” she teased, holding up a battered pot like a trophy. I laughed, but the memory of that burnt broth still haunts me—charred, bitter, and utterly disappointing. I swore then that I would rewrite the entire beef stew playbook so that no one would ever taste that regret again. And now, after countless trials, I’m about to reveal the secret to a pot that stews like velvet, fills the house with a scent that makes even the cat pause, and delivers a flavor so deep you’ll swear it was simmered for a century.
This isn’t just another “how to make stew” article. It’s a confession, a battle scar, and a triumph wrapped in a single, comforting bowl. I’ve spent nights coaxing beef chuck into a tender melt, letting onions caramelize until their edges crack like thin ice, and letting garlic release a perfume that lingers on your tongue. The moment you ladle the first spoonful, you’ll feel the warmth spread through your chest, the salt kiss your palate, and the herbs whisper stories of autumn harvests. If you’ve ever thought a stew was just “stew,” think again—this is a symphony in a pot.
I dare you to taste this and not go back for seconds. Most recipes get the balance wrong: too much broth, too little meat, or herbs that feel like a garnish rather than a chorus. This version is hands down the best you’ll ever make at home because I’ve mastered the timing, the sear, and the final flourish of parsley that turns a dish into an experience. Picture yourself pulling this out of the oven, the whole kitchen smelling incredible, and your guests already asking for the recipe—before you even finish your first bite.
If you’ve ever struggled with a stew that turns out watery or bland, you’re not alone— and I’ve got the fix. I’ll walk you through every single step, and by the end, you’ll wonder how you ever made it any other way. Let’s dive in, because the next few hours are going to be a delicious adventure.
What Makes This Version Stand Out
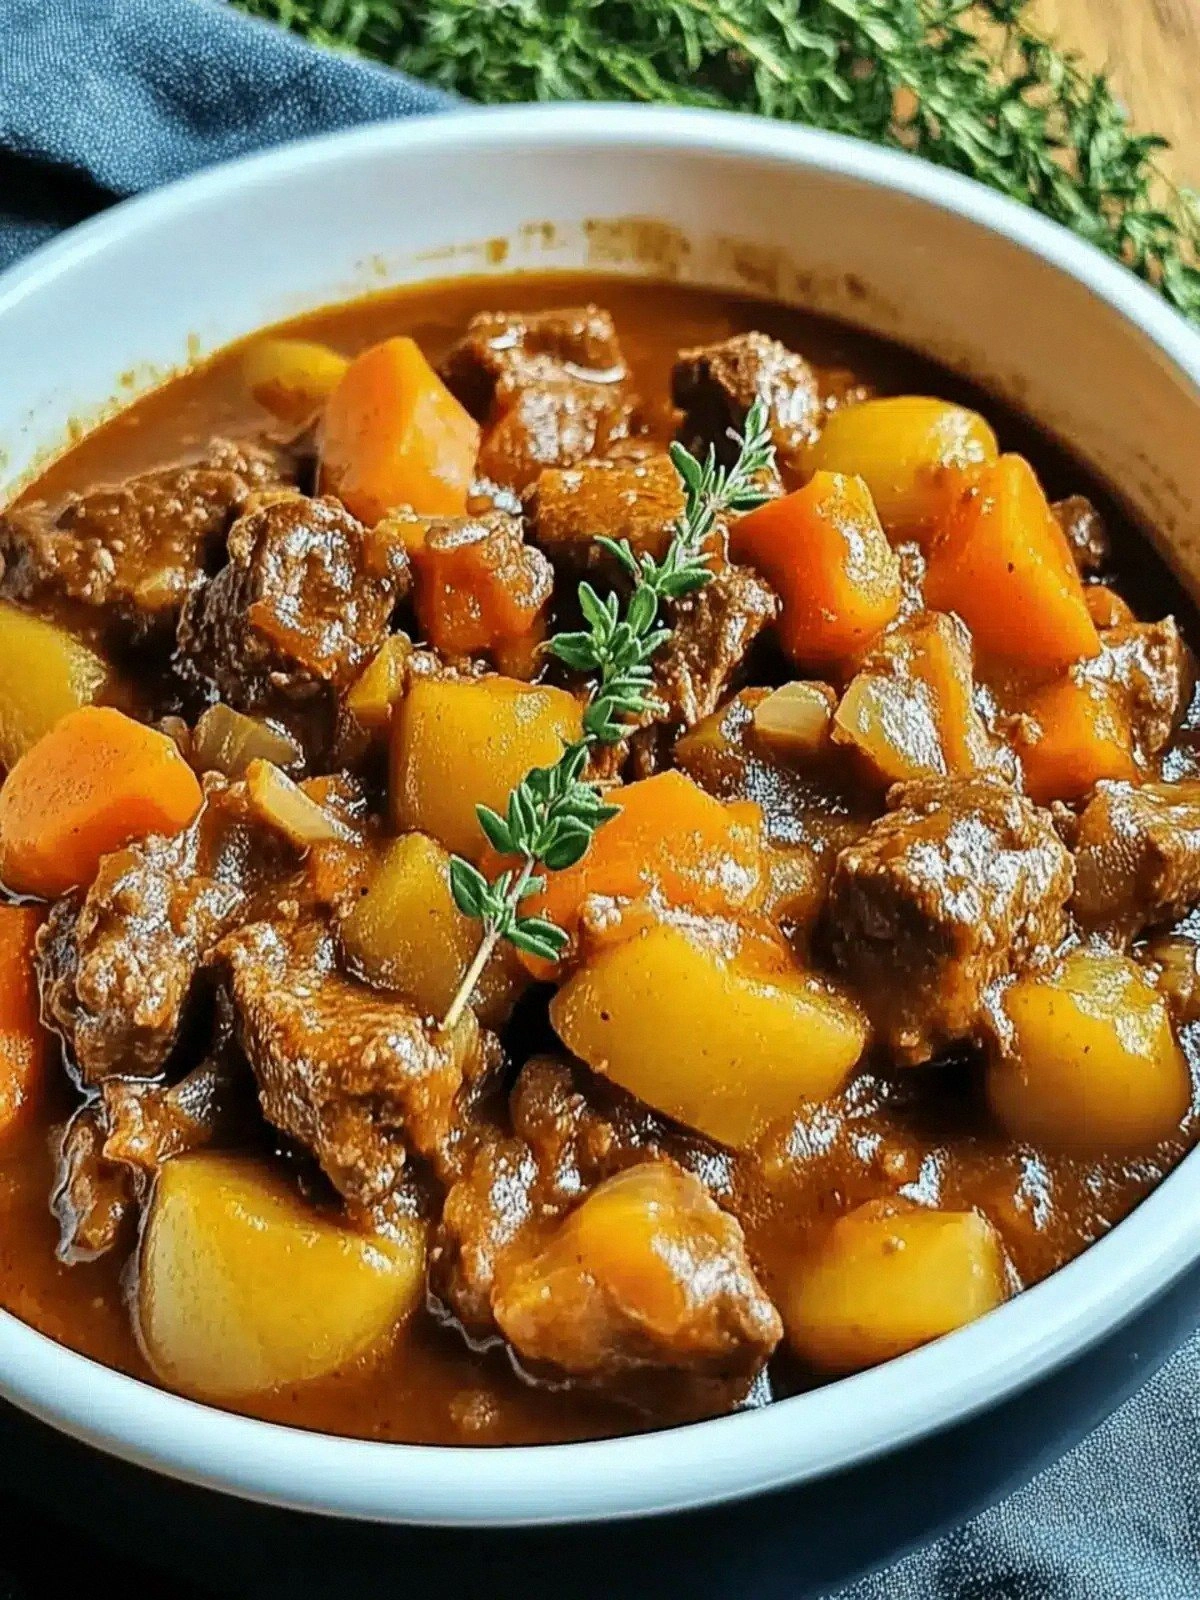
- Flavor Depth: The slow sear of beef and caramelized onions creates a caramelized base that enriches every bite, turning simple ingredients into a complex, umami-packed broth.
- Texture Contrast: Thick chunks of beef stay succulent while root vegetables soften to a tender melt, giving each mouthful a satisfying bite that’s never mushy.
- Ingredient Quality: Using 2 pounds of high‑grade chuck and fresh, seasonal vegetables ensures that every component contributes its best flavor.
- Time Efficiency: While it simmers, you can focus on other tasks—no constant stirring or constant checking, just a set‑and‑forget approach.
- Make‑Ahead Friendly: The stew improves in flavor when reheated, making it ideal for busy weeknights or for packing lunch for the next day.
- Crowd‑Pleaser: The aroma alone is enough to bring people together, and the hearty, comforting nature makes it a hit for family dinners or potlucks.
Alright, let's break down exactly what goes into this masterpiece...
Inside the Ingredient List
The Flavor Base
At the heart of this stew is the beef chuck—its marbling adds richness that melts into the broth. Cut the chuck into 1‑inch cubes; the size ensures that the meat remains tender after long simmering. Olive oil is the secret to a good sear; a generous splash helps the meat brown beautifully, creating a flavor foundation that’s impossible to replicate with butter alone. If you’re watching calories, swap half the oil for a splash of beef broth to keep the sear without the extra fat.
The Texture Crew
Root vegetables are the soul of any stew. Carrots bring natural sweetness; potatoes add body; parsnips provide a subtle nutty note that lingers. Slice each vegetable uniformly to ensure even cooking. If you prefer a chunkier texture, leave the potatoes in larger cubes; for a smoother consistency, dice them finely. The celery stalks contribute a subtle crunch and a bright, herbal backdrop that cuts through the richness.
The Unexpected Star
Tomato paste is often overlooked but it’s the binder that thickens the broth and deepens the flavor profile. It brings a subtle acidity that balances the beef’s fat. If you’re gluten‑free, make sure the tomato paste is labeled gluten‑free, or substitute with a small amount of tomato sauce. A pinch of smoked paprika can add a smoky undertone that elevates the dish further.
The Final Flourish
Dried thyme, rosemary, and a bay leaf are the aromatic trio that infuse the stew with herbal complexity. Fresh parsley is added at the end for a burst of color and bright, herbal freshness that cuts through the richness. Salt and pepper are added to taste, but remember that the beef broth already carries some saltiness; start light and adjust as the stew reduces.
Everything's prepped? Good. Let's get into the real action...
The Method — Step by Step
- Heat the Dutch oven over medium‑high heat. Add the olive oil and let it shimmer. Toss in the beef cubes, letting them brown on all sides. This step locks in juices and creates a caramelized crust that is the flavor base. Keep the heat steady; if the oil starts smoking, reduce the heat slightly.
- Transfer the browned beef to a plate. In the same pot, add the diced onion and cook until translucent and slightly golden. The onion’s natural sugars will caramelize, creating a sweet undertone that balances the beef’s savory depth.
- Add the minced garlic and cook for 30 seconds until fragrant, being careful not to let it burn. Garlic’s sharpness will brighten the stew; a burnt garlic flavor will make the dish taste bitter.
- Stir in the tomato paste and let it roast for 2 minutes. This step reduces acidity and brings out a rich, almost chocolatey flavor that deepens the broth. It also thickens the base slightly, giving the stew a luxurious mouthfeel.
- Return the beef to the pot. Pour in the beef broth and add the bay leaf, thyme, and rosemary. Bring the mixture to a gentle boil, then reduce the heat to low. Cover and let it simmer for 90 minutes, or until the beef is fork‑tender and the broth has reduced by about a third.
- Add the carrots, parsnips, celery, and potatoes to the pot. Stir to combine, ensuring the vegetables are submerged. The root vegetables should start to soften after 20 minutes, but keep them whole to retain their shape and texture.
- Simmer, uncovered, for an additional 30 minutes. This allows the vegetables to absorb the flavors and the broth to thicken. Check the consistency; if it’s too thin, let it reduce further or add a small amount of flour slurry to thicken.
- Season with salt and pepper to taste. Remember that the broth is already salty, so start with a small pinch and adjust gradually. A well‑seasoned stew should taste like a warm hug.
- Remove the bay leaf. Stir in the fresh parsley, letting its bright green color pop against the deep brown broth. The parsley not only adds color but also a fresh herbal note that cuts through the richness.
- Let the stew rest for 10 minutes before serving. This brief pause allows the flavors to meld and the broth to thicken slightly, delivering a velvety mouthfeel.
That’s it—you did it. But hold on, I’ve got a few more tricks that will take this to another level. If you’re feeling adventurous, keep reading.
Insider Tricks for Flawless Results
The Temperature Rule Nobody Follows
Many cooks believe that a stew should simmer at a steady low temperature. In reality, a gentle rolling boil at the start and a low simmer after the initial reduction creates the best texture. The brief high heat helps caramelize the meat and vegetables, while the low simmer ensures that the beef stays tender and the flavors meld without scorching.
Why Your Nose Knows Best
Your olfactory senses are the first indicator of a stew’s readiness. When the broth smells toasty and slightly sweet, and the aroma is thick enough to linger, it’s a sign the flavors have fully developed. Trust your nose; it’s the most reliable guide.
The 5‑Minute Rest That Changes Everything
Letting the stew sit for 5 minutes after turning off the heat allows the residual heat to finish cooking the vegetables and beef. This resting period also lets the broth thicken slightly, creating a richer mouthfeel. Skipping this step can leave the stew a bit watery.
Use a Dutch Oven for Even Heat
A heavy‑bottomed Dutch oven distributes heat evenly, preventing hot spots that can burn the bottom of the pot. This ensures that the stew cooks uniformly, giving every bite the same depth of flavor.
Keep the Bay Leaf Intact
Bay leaves release their flavor slowly; removing them early can cut the stew’s subtle complexity. Let the bay leaf remain in the pot until the very end, then remove it before serving.
Finish with Fresh Herbs
Adding fresh parsley at the end of cooking restores brightness and adds a pop of color. If you prefer a stronger herb presence, sprinkle chopped rosemary or thyme on top just before serving.
Creative Twists and Variations
This recipe is a playground. Here are some of my favorite ways to switch things up:
Spicy Southern Kick
Add a tablespoon of smoked paprika and a pinch of cayenne pepper to the tomato paste. The smoky heat will give the stew a Southern flair, pairing wonderfully with cornbread.
Herb‑Infused Mediterranean
Swap the dried thyme and rosemary for oregano and basil. Add a splash of red wine and finish with a drizzle of olive oil. The result is a fragrant, herbaceous stew that feels like a Mediterranean holiday.
Vegan Version
Replace the beef with hearty mushrooms or seitan, and use vegetable broth instead of beef broth. Add a tablespoon of soy sauce for umami and keep the rest of the ingredients identical for a plant‑based twist.
Cheesy Delight
Stir in a cup of shredded cheddar cheese during the last five minutes of simmering. The cheese will melt into the broth, creating a creamy, comforting texture that pairs with crusty bread.
Maple‑Glazed Twist
Add a tablespoon of pure maple syrup to the broth during the simmer. The subtle sweetness will complement the root vegetables and create a sweet‑savory balance.
Breakfast‑Style Stew
Serve the stew over a bed of creamy polenta or mashed potatoes, and top with a fried egg. The runny yolk adds richness and turns the dish into a hearty breakfast or brunch.
Storing and Bringing It Back to Life
Fridge Storage
Cool the stew to room temperature, then transfer it to a shallow airtight container. Store in the refrigerator for up to 4 days. The gelatin in the broth will set slightly, giving the stew a thicker consistency when chilled.
Freezer Friendly
Divide the stew into individual portions and place in freezer‑safe containers or zip‑lock bags. Freeze for up to 3 months. When ready to eat, thaw overnight in the refrigerator before reheating.
Best Reheating Method
Reheat the stew on the stovetop over low heat, stirring occasionally. Add a splash of water or broth if the stew has thickened too much. Heat until steaming; avoid boiling to preserve texture.