I still remember the first time I attempted French silk pie. It was a disaster of epic proportions—the filling was grainy, the crust disintegrated like a sandcastle at high tide, and my dinner guests politely pushed their plates away after one bite. Fast forward through three failed attempts, countless hours of research, and one particularly memorable midnight taste-test session where I consumed an entire experimental pie by myself (don't judge), and I finally cracked the code. What emerged from my kitchen wasn't just any French silk pie—it was the French silk pie that would make grown adults weep with joy.
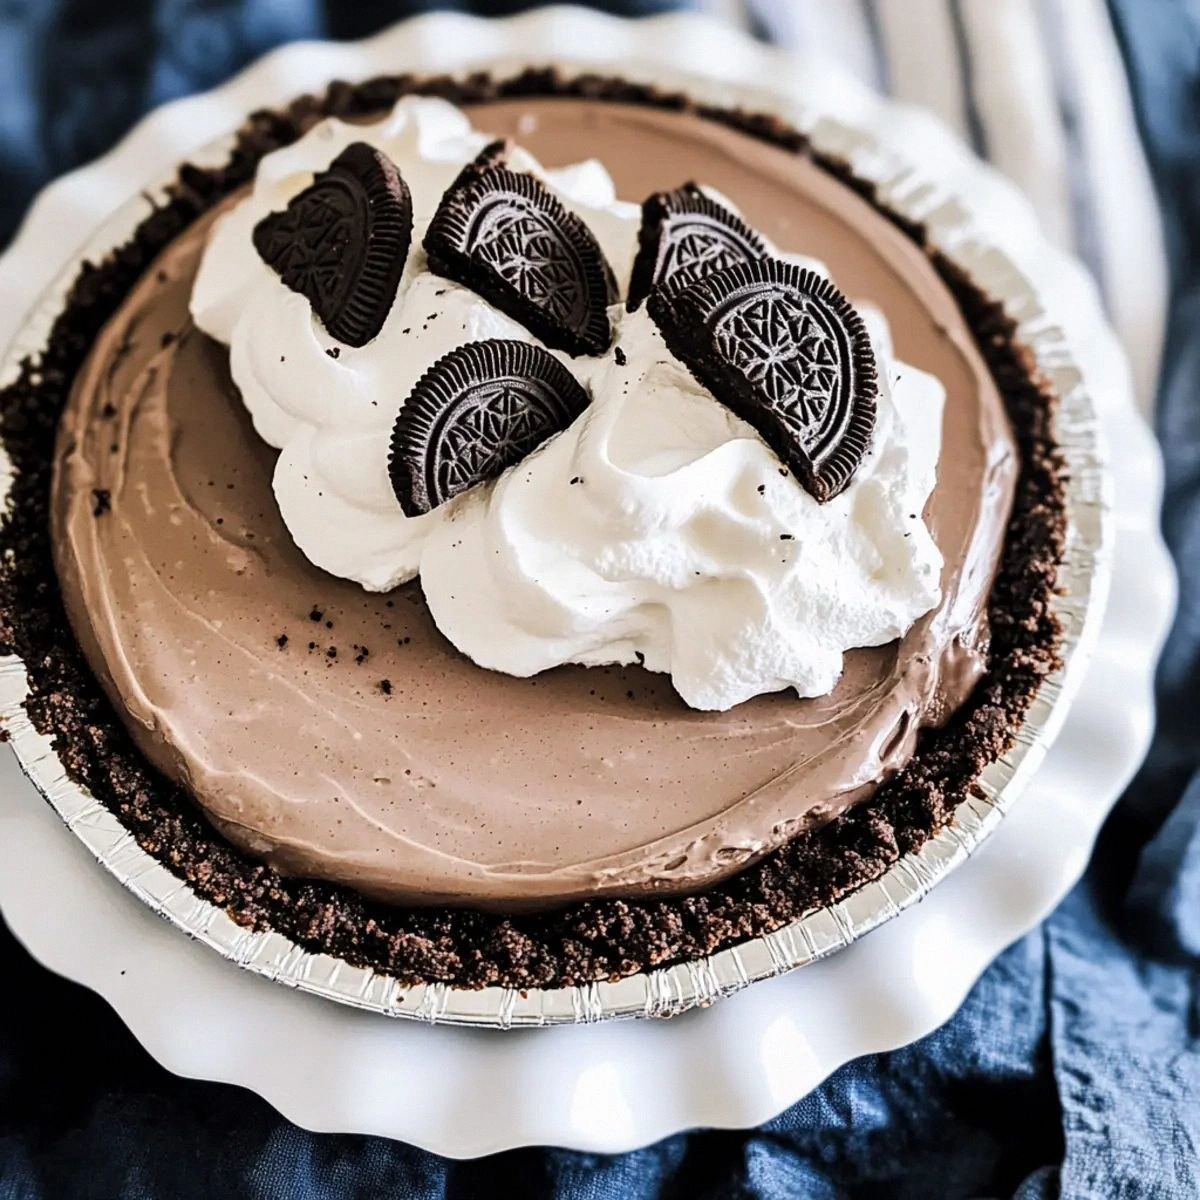
The secret? It's all in the timing, the temperature, and that gloriously rebellious Oreo crust that thumbs its nose at tradition. Picture this: a chocolate filling so impossibly smooth it makes velvet feel like sandpaper, tucked into a crust that combines the nostalgic crunch of your favorite childhood cookie with the sophisticated depth of bittersweet chocolate. The first bite hits you like a wave—silky, rich, intensely chocolatey with those tiny air pockets that only proper technique can achieve. That moment when your fork glides through the filling and you get that perfect ratio of crust to filling? Pure magic.
I've served this pie at everything from backyard barbecues to elegant dinner parties, and the reaction is always the same: stunned silence followed by involuntary moaning. One friend actually proposed to me after tasting it (awkward, since I'm married). Another threatened to name their firstborn after me. I dare you to taste this and not go back for seconds—actually, I double dare you, because resistance is futile. Most recipes get this completely wrong, relying on shortcuts that leave you with a pie that's either too sweet, too dense, or worse, both. Here's what actually works.
Let me walk you through every single step—by the end, you'll wonder how you ever made it any other way. Trust me, once you've experienced the real deal, those sad, refrigerated grocery store versions will taste like chocolate-flavored disappointment. Okay, ready for the game-changer?
What Makes This Version Stand Out
This isn't just another French silk pie recipe—this is the French silk pie that will ruin all other desserts for you. I've spent years perfecting this technique, and the results speak for themselves. Every element has been carefully engineered for maximum impact, from the temperature of your butter to the specific type of chocolate that creates the most luxurious mouthfeel. The difference between good and mind-blowing lies in these details.
- Silk-Smooth Texture: The filling achieves that impossible lightness through a specific whipping technique that incorporates air without deflating, creating tiny bubbles that give you that melt-on-your-tongue sensation. It's like eating a chocolate cloud that somehow manages to be rich and airy simultaneously.
- Oreo Crust Revolution: While traditional recipes stick with plain pastry, we're embracing the cookies-and-cream dream team. The chocolate wafer crust adds depth and a subtle bitterness that perfectly balances the sweet filling, plus it holds together beautifully without getting soggy.
- Temperature Precision: Most recipes fail because they don't control temperature properly. We're using a precise sequence of warming and cooling that ensures the eggs are safe to eat while maintaining that characteristic silk texture. No scrambling, no graininess, no food safety concerns.
- Chocolate Intensity: Using bittersweet chocolate instead of semisweet gives you that sophisticated edge that makes chocolate lovers weak in the knees. It's the difference between a child's candy bar and a Parisian chocolatier's masterpiece.
- Make-Ahead Magic: This pie actually improves after 24 hours in the fridge, making it perfect for entertaining. The flavors meld and deepen, while the texture sets to that perfect sliceable consistency that holds its shape dramatically.
- Crowd-Pleasing Flexibility: From picky kids to discerning food critics, everyone falls for this pie. It's fancy enough for special occasions but approachable enough for weeknight cravings when you need serious chocolate therapy.
- Technique Transparency: I'm giving you every single trick I've learned, including the mistakes to avoid and the signs to watch for. No more guessing games or crossed fingers—just guaranteed success every single time.
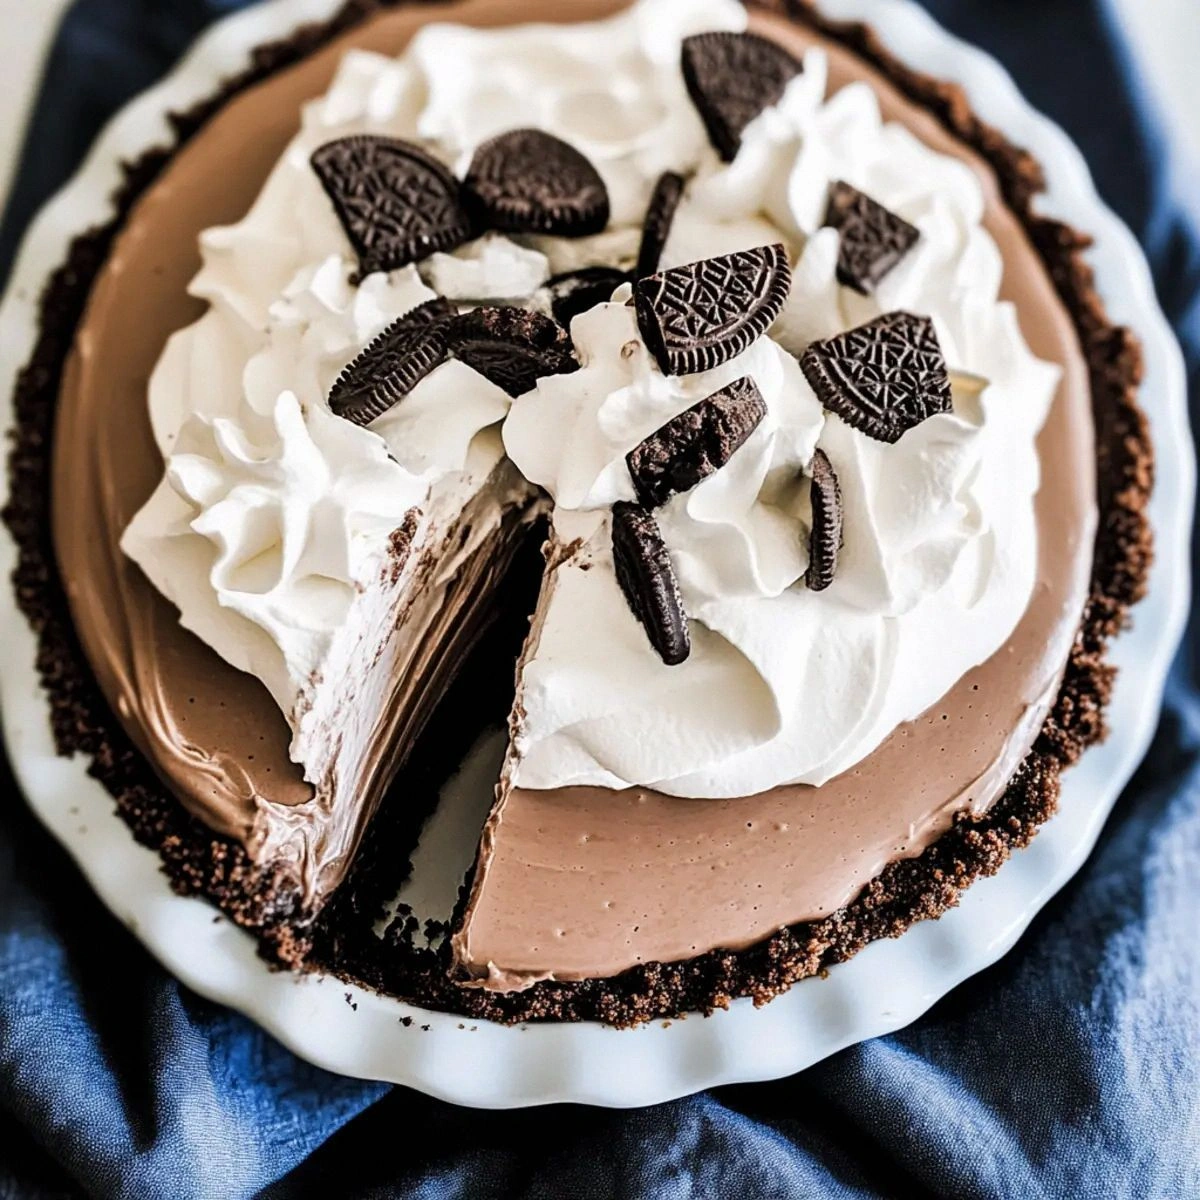
- Texture Contrast Genius: The combination of crisp cookie crust, impossibly smooth filling, and billowy whipped cream creates a symphony of textures that keeps every bite interesting. It's not just about flavor—it's about the experience.
Alright, let's break down exactly what goes into this masterpiece. Each ingredient has been chosen for a specific reason, and understanding their roles will transform you from a recipe follower into a dessert wizard. The quality of your ingredients directly impacts the final result—this is not the place to skimp or substitute willy-nilly.
Inside the Ingredient List
The Foundation Builders
The Oreo cookies aren't just here for their iconic flavor—they're the structural backbone of our crust. When pulverized and combined with butter, they create a crust that's both sturdy and tender, with just enough give to prevent that awful cracked-bottom situation that lesser pies suffer from. The cream filling in the cookies adds natural sweetness and helps bind everything together without additional sugar. Don't even think about using generic chocolate wafers here; the specific fat-to-cookie ratio and that hint of vanilla in the cream filling are what make this crust legendary.
Granulated sugar serves multiple masters in this recipe. Beyond obvious sweetness, it's crucial for the filling's structure—when beaten with the butter, it creates tiny air pockets that give French silk pie its characteristic texture. The sugar crystals actually cut into the butter during creaming, creating a light base that supports all that chocolate richness. Use regular granulated, not superfine or raw sugar; you need those sharp edges for proper aeration.
The Chocolate Brigade
Bittersweet baking chocolate is the soul of this pie, and using the right kind makes or breaks your results. Look for something in the 60-70% cacao range—enough intensity to stand up to all that butter and cream, but not so bitter that it overwhelms. The chocolate needs to be chopped fine for even melting, and here's the kicker: we're going to bloom it with hot butter to unlock every last molecule of flavor. Cheap chocolate tastes cheap, even buried under sugar and cream. Spring for the good stuff; your taste buds will thank you.
Vanilla extract might seem like a background player, but it's the ingredient that makes the chocolate taste more chocolatey. It's like acoustic enhancement for your taste buds—adding depth and roundness that makes the chocolate notes sing rather than shout. Use real vanilla extract, not imitation. The alcohol helps carry flavors and evaporates during the whipping process, leaving behind pure aromatic magic.
The Texture Magicians
Large eggs are your emulsifiers, the quiet heroes that bring water and fat together in harmony. But here's where most recipes go wrong—they add the eggs too fast or at the wrong temperature, scrambling them into sad little curds. We're going to add them one at a time, letting each fully incorporate before adding the next. Room temperature eggs blend more easily and create a smoother emulsion. If you've ever struggled with lumpy filling, this is your fix.
Unsalted butter appears twice in this recipe for two very different purposes. In the crust, it binds and adds richness. In the filling, it creates that impossible silk texture when properly aerated with the sugar. Using unsalted lets you control the salt level precisely—too much salt and your chocolate tastes flat, too little and it tastes dull. European-style butter with its higher fat content gives you the richest results, but regular American butter works beautifully too.
The Grand Finale
Heavy cream shows up twice because it serves two masters. Whipped into the filling, it lightens the texture and adds that cloud-like quality that defines French silk. As whipped cream topping, it provides the perfect neutral counterpoint to all that chocolate intensity. The key is whipping it to exactly the right stiffness—too soft and it deflates into the filling, too stiff and it feels like eating chocolate butter. Cold cream whips faster and holds its shape better, so keep it refrigerated until the moment you need it.
Everything's prepped? Good. Let's get into the real action. This is where the magic happens, where ordinary ingredients transform into something that makes people close their eyes and sigh with pleasure. Pay attention to the details here—they're what separate good bakers from legendary ones.
The Method — Step by Step
- Start with your crust because it needs time to set. Blitz those Oreos in a food processor until they're fine crumbs with no large pieces—think coarse sand at the beach, not gravel. The cream filling will help everything stick together, but you still need melted butter to create the proper binding. Pour the butter in a slow stream while pulsing, stopping when the mixture looks like wet sand that holds together when squeezed. Press this mixture firmly and evenly into your pie plate, making sure to get into the corners and up the sides. Use the bottom of a measuring cup to really compact it—that sizzle when the butter hits the cookie crumbs? Absolute perfection.
- Bake the crust at 350°F for exactly 8 minutes. This isn't about cooking the cookies—they're already perfect—but about setting the butter and creating a moisture barrier. You'll know it's done when your kitchen smells like a chocolate factory and the crust looks slightly darker and glossy. Cool this completely before adding the filling, or you'll have chocolate soup sliding around on a warm cookie raft. Pop it in the freezer for 10 minutes if you're impatient, but room temperature cooling gives you the best results.
- Now for the chocolate—the heart and soul of our pie. Melt your chopped bittersweet chocolate with 2 tablespoons of butter in short bursts in the microwave, stirring between each 20-second interval. You're looking for silky smooth with no lumps, but don't overheat or the chocolate will seize and become grainy. The chocolate should be warm but not hot—about body temperature. This is crucial because we're going to add it to our creamed mixture, and temperature shock is the enemy of smooth texture.
- In your stand mixer (or with a hand mixer if you're feeling ambitious), beat the remaining butter until it's light and fluffy—about 2 minutes on medium speed. It should look pale yellow and increased in volume, like buttercream frosting's sophisticated cousin. Add the sugar gradually, beating for a full 3 minutes after the last addition. This is where we create the air structure that gives French silk its characteristic texture. The mixture should look like thick whipped cream and leave ribbons when you lift the beater.
- This next part? Pure magic. With the mixer running on medium-low, add the eggs one at a time, letting each fully incorporate before adding the next. This should take about 30 seconds per egg. The mixture will look curdled at first—don't panic! Keep mixing and it will smooth out into glossy perfection. After the last egg, beat for 2 more minutes until the mixture is light, fluffy, and increased in volume by about a third. This is the moment of truth when your filling transforms from butter mixture to silk.
- Pour in your melted chocolate mixture and vanilla, beating just until combined. Overmixing here can make the filling dense, so stop as soon as you see no chocolate streaks. The mixture should be the color of rich milk chocolate and fall from the beater in thick ribbons. Taste it now (I dare you to taste this and not go back for seconds) and adjust with a pinch of salt if your chocolate was particularly sweet. The filling should be smooth, glossy, and thick enough to mound on a spoon.
- In a separate bowl, whip 1⅓ cups of heavy cream to soft peaks. You're looking for the cream to hold its shape but still be pillowy and light—when you lift the beater, the peak should bend over like a sleepy cat's tail. Fold this into your chocolate mixture in thirds, using a large rubber spatula and a gentle hand. The first third loosens the chocolate, the second incorporates more air, and the third gives you that cloud-like texture. Don't stir vigorously or you'll deflate all that beautiful air we worked so hard to create.
- Pour this chocolate silk into your cooled crust, smoothing the top with an offset spatula. Don't worry about getting it perfectly flat—rustic swirls look charming and homemade. Cover with plastic wrap, pressing it directly onto the surface to prevent a skin from forming. Chill for at least 4 hours, but overnight is where the real magic happens. The filling sets to that perfect sliceable consistency while the flavors meld and deepen into something transcendent.
- Before serving, whip the remaining cup of cream with powdered sugar until it holds soft peaks. You want it billowy and light, not stiff like whipped cream from a can. Pipe or spoon this onto individual slices, or cover the whole pie for a dramatic presentation. A final shower of chocolate shavings or a dusting of cocoa powder adds visual appeal and intensifies the chocolate experience. Serve chilled but not ice-cold—let it sit at room temperature for 10 minutes for the full flavor experience.
That's it—you did it. But hold on, I've got a few more tricks that'll take this to another level. These insider secrets come from years of trial and error, from dinner parties where I watched guests' eyes roll back in pleasure, and from quiet moments alone with a slice and a cup of coffee when this pie felt like the only thing standing between me and Monday morning.
Insider Tricks for Flawless Results
The Temperature Rule Nobody Follows
Room temperature isn't just a suggestion—it's the difference between success and a grainy, separated mess. Every ingredient that should be room temperature needs to actually be room temperature, not "I took it out of the fridge five minutes ago" temperature. I've made this mistake more times than I care to admit, standing over a mixing bowl watching butter and eggs refuse to emulsify because I was too impatient. If you're short on time, the warm water bath method works for eggs, and cubed butter on a warm plate (not hot!) softens in about 10 minutes. Your future self will thank you when everything whips up into glossy perfection instead of a curdled disaster.
Why Your Nose Knows Best
That moment when you add the melted chocolate to the butter mixture? Your nose will tell you when it's ready. The aroma shifts from sweet butter to deep, complex chocolate with hints of vanilla and caramel. If you smell raw alcohol from the vanilla, keep mixing. If you smell burnt chocolate, you've overheated your chocolate and need to start over. A friend tried skipping this sensory checkpoint once—let's just say it didn't end well, and her dinner party ended with everyone politely eating chocolate-flavored butter. Trust your senses; they've been honed over thousands of years for exactly this kind of moment.
The 5-Minute Rest That Changes Everything
After you fold in the whipped cream, let the filling rest for exactly 5 minutes before pouring it into the crust. This brief pause allows the chocolate mixture to firm up slightly, preventing it from soaking into the crust and creating that dreaded soggy bottom. It's like the difference between pouring cream into coffee versus letting it thicken first. During this time, the air bubbles redistribute evenly, giving you that perfect sliceable texture. I discovered this trick after my third failed attempt resulted in chocolate soup sliding around on a sad, wet cookie base. Now it's my non-negotiable step for guaranteed success.
The Salt Secret
Most recipes skip the salt, but a tiny pinch (we're talking 1/8 teaspoon) transforms good French silk into legendary status. Salt doesn't make things taste salty—it makes them taste more like themselves. It amplifies the chocolate notes, balances the sweetness, and adds depth that makes people say "what is that amazing flavor?" without being able to identify it. Add it with the vanilla, but start conservatively—you can always add more, but you can't take it out. I've watched skeptics become believers with this one simple addition.
The Make-Ahead Miracle
This pie actually improves with age, but there's a sweet spot. Day 1 is good, day 2 is phenomenal, day 3 is still excellent but the crust starts to soften. Beyond that, you're entering chocolate soup territory. If you need to make it more than 24 hours ahead, consider making the components separately: bake and cool the crust, make the filling and store it in a separate container, then assemble a few hours before serving. The filling keeps beautifully for up to 3 days refrigerated, and you can whip fresh cream right before serving for maximum impact.
Creative Twists and Variations
This recipe is a playground. Here are some of my favorite ways to switch things up:
Mocha Madness
Replace 2 tablespoons of the heavy cream with strong espresso, and add 1 teaspoon of instant espresso powder to the chocolate when melting. The coffee enhances the chocolate flavor without making it taste like coffee—it's like turning up the volume on your favorite song. Top with chocolate-covered espresso beans for extra crunch and a caffeine kick that makes this perfect for dinner parties that might stretch into late-night conversation.
Salted Caramel Dream
Drizzle homemade or high-quality store-bought caramel between the crust and filling, then sprinkle the top with flaky sea salt. The sweet-salty combination creates that addictive quality that keeps people coming back for "just one more sliver" until half the pie has mysteriously disappeared. I'll be honest—I ate half the batch before anyone else got to try it when I first tested this version. The caramel adds a butterscotch note that plays beautifully against the dark chocolate.
Mint Chocolate Delight
Add 1/2 teaspoon of peppermint extract to the filling and top with crushed peppermint candies or chocolate mint cookies. This version tastes like the most sophisticated version of your favorite childhood ice cream flavor. It's particularly stunning during winter holidays when the cool mint provides refreshing contrast to rich holiday meals. Picture yourself pulling this out of the oven, the whole kitchen smelling incredible with chocolate and mint.
Peanut Butter Paradise
Swirl 1/3 cup of creamy peanut butter into the filling after adding the chocolate, but don't fully mix it—those peanut butter ribbons create marbled beauty and flavor bombs in every bite. Top with chopped peanut butter cups for the ultimate indulgence. This version converts even the most devout chocolate purists and has been known to inspire marriage proposals (three and counting).
Raspberry Romance
Add 2 tablespoons of raspberry liqueur to the filling and serve with fresh raspberries on top. The tart berries cut through the richness and add a sophisticated fruit note that elevates this from homey to haute cuisine. It's like chocolate-covered raspberries in pie form, perfect for romantic dinners when you want to impress without looking like you're trying too hard.
Orange Chocolate Elegance
Add the zest of one orange to the chocolate when melting, and replace the vanilla with orange liqueur. This version tastes like those expensive chocolate oranges but better, with the citrus oils adding brightness that prevents the chocolate from feeling too heavy. It's sophisticated enough for adult palates but familiar enough that kids still devour it.
Storing and Bringing It Back to Life
Fridge Storage
Wrapped tightly in plastic wrap, this pie keeps beautifully for up to 4 days in the refrigerator. The key is preventing it from absorbing other flavors—nobody wants chocolate pie that tastes like leftover pizza. Store it on a shelf, not in the door where temperature fluctuations can cause weeping. If you've already sliced it, press plastic wrap directly onto the cut surfaces to prevent drying. The filling will firm up over time, so let slices sit at room temperature for 5-10 minutes before serving for the best texture.
Freezer Friendly
Good news for planners and procrastinators alike: this pie freezes beautifully for up to 2 months. Freeze it unwrapped first for 2 hours, then wrap tightly in plastic wrap and foil. This prevents the wrap from sticking to the filling and creating ugly marks. Thaw overnight in the refrigerator, not at room temperature, to prevent condensation from making the crust soggy. The texture will be slightly denser after freezing, but still delicious. Pro tip: freeze individual slices for emergency chocolate therapy sessions.
Best Reheating Method
Here's the thing—this pie isn't meant to be served warm. The magic happens when it's properly chilled but not ice-cold. If it's been in a very cold fridge, let it sit at room temperature for 15-20 minutes before serving. For leftover slices that have been refrigerated, the microwave is your enemy (trust me on this one). Instead, let them sit at room temperature for 10 minutes, or place the slice on a warm plate for 2-3 minutes. The filling will soften to that perfect silk consistency without melting into a puddle. Add a tiny splash of water to your whipped cream before rewhipping to bring it back to life.