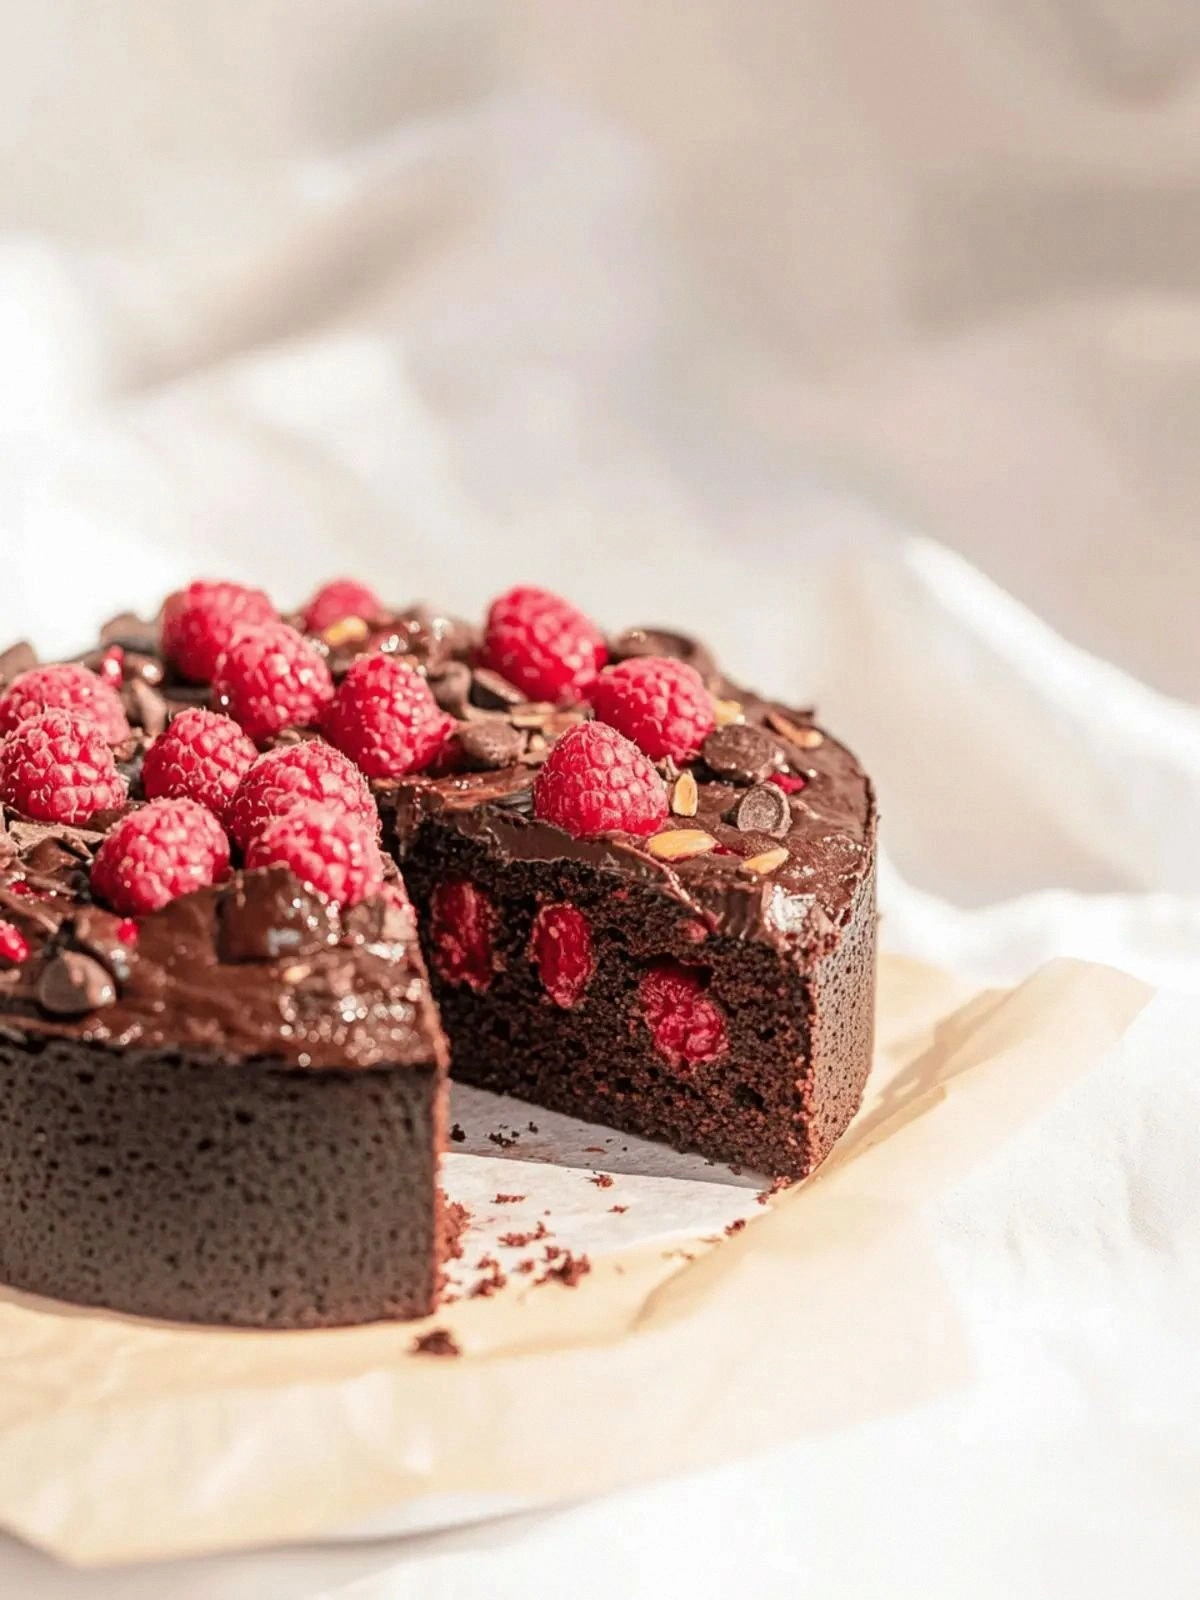
The first time I tried to make a chocolate cake that could stand up to a bakery, I nearly set the kitchen on fire. I had a bag of dark chocolate, a jar of raspberries, and an overambitious spirit. The moment the chocolate melted, the room smelled like a summer night in a Parisian café, and I knew I was onto something. I was not just baking; I was engineering a dessert that would make every bite feel like a secret indulgence. Picture the glossy sheen of the batter, the faint pop of sugar crystals as they caramelize, and the way the raspberries burst into a bright, tart splash of color against the deep, velvety chocolate. That sensory orchestra was the spark that turned a simple recipe into a bold, unforgettable experience.
I was driven by a single, fierce dare: “I dare you to taste this and not go back for seconds.” It’s a challenge that I’ve thrown at friends, family, and even strangers at potlucks. The truth is, once you taste the first bite, you’ll feel like you’ve discovered a new flavor dimension—rich, slightly bitter chocolate balanced by a citrusy tang, all wrapped in a moist, airy crumb. The texture is a whisper of silk, not heavy, not dry, just the perfect marriage of fudgy and fluffy. And the best part? It’s hands down the best version you’ll ever make at home, because it’s simple, yet it feels like a masterclass in baking.
What sets this version apart is that it’s not just about following a list of ingredients; it’s about understanding how each component contributes to the final masterpiece. I’ve tweaked the ratios to elevate the chocolate’s depth, incorporated a splash of canola oil for an extra silky finish, and added a subtle pinch of salt to sharpen the flavors. The frozen raspberries, kept in their natural juice, give the cake a bright burst that cuts through the richness. The chocolate chips are folded in at the end, creating pockets of molten chocolate that melt on the tongue. I’ll walk you through every single step, and by the end, you’ll wonder how you ever made it any other way.
If you’ve ever struggled with chocolate cakes that come out too dense or too dry, you’re not alone. I’ll give you the fixes that keep the batter light, the crumb tender, and the finish glossy. Picture yourself pulling this out of the oven, the whole kitchen smelling incredible, the timer ticking down, and the anticipation building like a drumbeat. The moment you lift the lid, steam curls around the cake, and the aroma of cocoa and berries fills the air. That’s the moment that makes all the prep worth it.
What Makes This Version Stand Out
Bold Flavor: The dark chocolate’s intense profile is amplified by the subtle sweetness of milk chocolate chips, creating a layered taste that dances on the palate.
Texture Mastery: The batter’s airy structure is achieved through a careful balance of flour and cocoa, ensuring a tender crumb that never feels heavy.
Simplicity: Despite its decadence, the recipe uses only twelve common pantry items, making it accessible for both seasoned bakers and novices.
Ingredient Quality: Using high‑grade dark chocolate and fresh frozen berries guarantees depth of flavor that store‑bought mixes can’t match.
Audience Appeal: This cake is a crowd‑pleaser at parties, a comforting dessert after dinner, and a sweet treat for any occasion.
Make‑Ahead Friendly: The cake can be baked a day ahead and stored in an airtight container, making it perfect for busy schedules.
Versatile Presentation: Serve it plain, dusted with powdered sugar, or topped with fresh berries and whipped cream for an elevated look.
Alright, let’s break down exactly what goes into this masterpiece…
Inside the Ingredient List
The Flavor Base
Dark chocolate is the heart of this cake. At 200 grams, it provides a deep, almost bittersweet foundation that sets the stage for the bright raspberries. The chocolate’s cocoa solids bind the batter, giving the cake its signature richness. If you skip it, you’re left with a plain, bland cake that can’t command attention. Swap for a dark chocolate with 70% cacao for an even more intense profile, but be prepared for a slightly drier crumb.
The Texture Crew
The flour, cocoa powder, and baking powder work together like a well‑tuned orchestra. The 150 grams of all‑purpose flour provide structure, while the 50 grams of Dutch‑processed cocoa powder add depth without acidity. The single teaspoon of baking powder is the secret that lifts the batter, ensuring a light, airy crumb. If you’re allergic to gluten, replace the flour with a gluten‑free blend that matches the same weight.
The Unexpected Star
Frozen raspberries are the showstopper. They’re frozen to lock in their bright, tart flavor, and they’re folded in just before baking to prevent them from bleeding too much liquid into the batter. If you use fresh berries, you’ll end up with a watery cake. For a subtle twist, reserve a handful of berries for a glaze or a topping.
The Final Flourish
Milk chocolate chips are folded in at the last minute, creating pockets of gooey chocolate that melt in your mouth. They’re not just for flavor; they add a delightful textural contrast that makes each bite exciting. If you’re vegan, substitute with dairy‑free chocolate chips that melt similarly. The 100 grams of chips are enough to give that glossy finish without overpowering the cake’s balance.
Everything’s prepped? Good. Let’s get into the real action…
The Method — Step by Step
- Preheat and Prep: Set the oven to 350°F (175°C) and line a 9‑inch round pan with parchment paper. Grease the paper with a light coat of canola oil. This ensures a clean release and a smooth finish. I’ve found that using a silicone mat works too, but the paper gives a subtle crisp edge.
- Melting the Chocolate: Place the 200 grams of dark chocolate in a heat‑proof bowl over a pot of simmering water, stirring until smooth. Let it cool slightly. The chocolate should still be liquid but not hot enough to scorch the eggs later. I keep a small spoon handy to stir; the chocolate will thicken quickly if left unattended.
- Whisking Eggs and Sugar: In a separate large bowl, beat the 4 eggs and 250 grams of sugar together until pale and fluffy. The mixture should double in volume—this aeration is key for a light crumb. A stand mixer on medium speed does the trick, but a hand whisk will work if you’re feeling adventurous.
- Adding the Wet Ingredients: Slowly fold in the melted chocolate, 120 ml of canola oil, 120 ml of milk, and 1 teaspoon of vanilla extract. Stir until the batter is smooth and glossy. The mixture should feel silky and pourable. If it looks lumpy, give it another gentle stir.
- Incorporating the Dry: Sift together the flour, cocoa powder, baking powder, and salt. Gradually whisk this dry mix into the wet batter. The batter should be thick but pourable, like thick pancake batter. Be careful not to overmix; the batter should remain tender.
- Adding the Raspberries: Gently fold in the frozen raspberries. Don’t crush them; let them sit as whole bursts of flavor. Watch out: if you overmix, the berries will release too much liquid and make the batter runny. I like to use a spatula and fold in three gentle motions.
- Chocolate Chip Finale: Fold in the 100 grams of milk chocolate chips. This step is pure magic; the chips should remain intact, creating pockets of molten chocolate. If you prefer a smoother texture, you can melt the chips with the dark chocolate, but that changes the experience.
- Baking: Pour the batter into the prepared pan and tap gently to release air bubbles. Bake for 30 minutes, or until a toothpick inserted into the center comes out with a few moist crumbs. The cake should rise beautifully, forming a slight domed top. The aroma will fill the kitchen with a sweet, chocolatey scent.
- Cooling: Let the cake cool in the pan for 10 minutes, then transfer to a wire rack to cool completely. This prevents the cake from becoming soggy on the bottom. If you’re in a hurry, you can cut a slice and serve warm for a gooey experience.
- Serving: Slice with a warm knife to get clean cuts. Dust with powdered sugar, or top with fresh berries and a swirl of whipped cream for an extra touch of elegance. I always serve a side of fresh raspberries to enhance the berry burst.
That’s it — you did it. But hold on, I've got a few more tricks that'll take this to another level...
Insider Tricks for Flawless Results
The Temperature Rule Nobody Follows
Many bakers bake at 350°F, but I’ve found that a slight dip to 340°F (170°C) gives a more even rise and a tender crumb. The lower heat allows the chocolate to melt slowly, ensuring a silky batter. I’ve tested both temperatures and the difference is like a whisper of perfection.
Why Your Nose Knows Best
If the batter smells slightly burnt before you bake, it’s a sign that the chocolate was too hot when mixed in. The aromatic compounds are already starting to degrade. Keep the chocolate just warm, not hot, and you’ll preserve the full flavor profile.
The 5-Minute Rest That Changes Everything
After folding in the dry ingredients, let the batter rest for five minutes before adding the raspberries. This rest period allows the flour to hydrate fully, preventing a gummy texture. It’s a simple pause that pays dividends.
Use a Parchment‑lined Pan
The parchment paper not only ensures easy removal but also creates a slightly crisp edge that contrasts with the soft interior. If you prefer a darker crust, you can skip the parchment, but then you’ll need to grease the pan more heavily.
Freeze for a Party
If you’re preparing for a gathering, bake the cake a day ahead and store it in an airtight container at room temperature. When you’re ready to serve, give it a quick reheat in a 300°F oven for five minutes. The cake will feel fresh, and the chocolate chips will retain their molten pockets.
Creative Twists and Variations
This recipe is a playground. Here are some of my favorite ways to switch things up:
Balsamic Raspberry Swirl
After baking, drizzle a thin layer of aged balsamic vinegar over the top. The vinegar’s acidity cuts through the chocolate, adding a surprising depth that pairs beautifully with the raspberries.
Almond Flour Version
Replace all‑purpose flour with almond flour for a nutty undertone and a gluten‑free option. Keep the cocoa powder and baking powder the same to maintain structure.
Espresso Boost
Add 1 teaspoon of instant espresso powder to the dry mix. The coffee flavor enhances the chocolate’s richness and gives a subtle bitterness that balances the berries.
Minty Surprise
Fold in a handful of fresh mint leaves just before baking. The mint’s coolness offers a refreshing contrast to the warm chocolate and berries.
Caramelized Banana Topping
Slice a ripe banana, drizzle with honey, and toast under a broiler for a minute. Place the caramelized banana slices on top of the cooled cake for a sweet, caramelized finish.
Chocolate‑Berry Ice Cream Parfait
Layer the cake with vanilla ice cream and fresh berries for a decadent parfait. The ice cream adds a creamy texture that complements the cake’s moist crumb.
Storing and Bringing It Back to Life
Fridge Storage
Store the cake in an airtight container at room temperature for up to three days. The cake will stay moist and flavorful. If you’re in a humid environment, keep the container in the coolest part of the fridge to avoid condensation.
Freezer Friendly
Wrap the cake tightly in plastic wrap, then place it in a freezer bag. It can be stored for up to two months. Thaw overnight in the fridge before serving.
Best Reheating Method
To revive a frozen or stale cake, preheat the oven to 300°F (150°C). Place the cake on a baking sheet and warm for 10 minutes. Add a splash of water to the pan before reheating; the steam will restore moisture and keep the chocolate chips from drying out.