Picture this: a bright Saturday afternoon, the air thick with the scent of sizzling garlic, the clatter of a wok, and the unmistakable promise of a dish that will make your taste buds dance. I was on a mission to recreate that chaotic, fiery delight I had devoured at a tiny street stall in Chiang Mai, and I quickly realized that the secret sauce was less about exotic ingredients and more about timing, balance, and a touch of daring. The moment the ground chicken hit the hot oil, a sizzling hiss erupted like applause, and I knew I was on the cusp of something special. I dared myself to taste the dish before the guests even saw it, and I couldn't help but grin because it was already a masterpiece in the making.
The first thing you notice is the aroma—a heady mix of roasted chilies, fresh basil, and a whisper of sweet soy that drifts through the kitchen. Your eyes lock onto the glossy, peppery sheen of the chicken as it clings to the wok, and you can almost hear the rhythmic slap of the spatula as it twirls the ingredients. The heat is immediate, but not overwhelming; it’s that kind of controlled burn that makes you feel like a chef in a bustling Thai kitchen. The texture is a paradox—juicy, tender chicken, crisp edges that crackle like thin ice, and basil leaves that wilt into a fragrant, almost velvet‑like coating. And the taste? It’s a symphony of umami, heat, and a hint of citrus that lingers on the palate long after the last bite.
What makes this version of Pad Krapow Gai stand apart from the countless recipes you’ll find online? First, it’s the balance. I’ve dialed in the perfect ratio of sweet to salty to spicy, so each mouthful is a harmonious explosion rather than a chaotic jumble. Second, I use fresh basil right at the end, preserving its bright, peppery flavor—most recipes wilt the leaves too early, losing that signature zing. Third, the chicken is cooked in a single, high‑heat pan, giving it a caramelized exterior while staying moist inside; that contrast is the secret to that unforgettable texture. Fourth, the sauce is a quick, homemade blend that eliminates the need for pre‑mixed sauces that often contain hidden sugars and additives. Lastly, the dish is so versatile that it can be served over rice, tossed with noodles, or even stuffed into lettuce leaves for a low‑carb option.
I’ll be honest—after cooking this, I ate a half‑batch before anyone else even got a spoonful. But that’s the power of a recipe that’s so satisfying it becomes a comfort food and a show‑stopper. I dare you to taste this and not go back for seconds; it’s that addictive. If you’ve ever struggled to get the right balance of heat and flavor in Thai cooking, you’re not alone, and I’ve got the fix. Picture yourself pulling this out of the pan, the whole kitchen smelling incredible, and watching your friends’ eyes widen as they take their first bite. That’s the moment you’ll want to remember forever.
What Makes This Version Stand Out
- Flavor Harmony: The sauce layers sweetness from sugar, umami from fish and oyster sauces, and a bright citrus kick from lime, creating a balanced profile that feels both authentic and refined.
- Texture Contrast: The chicken achieves a caramelized crust while remaining tender inside, and the basil leaves soften into a fragrant, almost velvet‑like coating.
- Simplicity: No pre‑made sauce packets, no complex spice blends—just a handful of fresh ingredients that come together in minutes.
- Fresh Basil Finish: Adding basil at the last moment preserves its bright, peppery flavor, unlike many recipes that wilt the leaves prematurely.
- Crowd‑Pleaser: Whether you’re cooking for a single person or a packed dinner, this dish scales easily and delivers a wow factor every time.
- Ingredient Quality: Using high‑quality fish sauce and fresh chilies elevates the dish; the difference is as obvious as a sunrise over the Mekong.
- Make‑Ahead Friendly: The sauce can be pre‑prepared and stored, so you can focus on the final sauté when you’re ready to serve.
- Versatility: Serve it over jasmine rice, toss with rice noodles, or pack it into lettuce cups—this dish adapts to any meal plan.
Alright, let’s break down exactly what goes into this masterpiece…
Inside the Ingredient List
The Flavor Base
This is where the magic starts. The combination of fish sauce, soy sauce, and oyster sauce forms a robust, umami‑rich foundation that carries the heat of the chilies. Fish sauce, with its salty depth, is the backbone of Thai cuisine; it’s what gives Pad Krapow its signature savory punch. Soy sauce adds a subtle sweetness and color, while oyster sauce brings a silky, slightly sweet undertone that balances the acidity of lime juice. If you’re vegetarian, you can replace fish sauce with a splash of tamari or a dash of miso paste, but be prepared for a different flavor profile.
The Texture Crew
Ground chicken is the star of this dish, providing a tender, juicy bite that absorbs the sauce beautifully. If you prefer bite‑size pieces, diced chicken breast will work, but keep an eye on the cooking time to avoid drying out. The oil—vegetable or peanut—serves a dual purpose: it keeps the chicken from sticking and delivers a subtle nutty aroma. The garlic and onion add a savory depth that cuts through the heat, and the chilies bring that signature Thai heat that makes your eyes water (in a good way). Skipping any of these will alter the dish’s character, so keep them all.
The Unexpected Star
Fresh basil is the unsung hero that sets this dish apart. Thai basil has a peppery, slightly sweet flavor that’s distinct from sweet basil. Adding it at the very end preserves its bright, aromatic quality; if you add it too early, the heat will wilt its leaves and the flavor will dissipate. A splash of lime juice at the end adds a fresh, citrusy brightness that cuts through the richness of the sauce. If you’re in a pinch, a handful of chopped cilantro can substitute, but the dish will taste noticeably different.
The Final Flourish
A pinch of black pepper, a dash of sugar, and a drizzle of lime juice finish the dish, creating a harmonious blend of sweet, salty, sour, and spicy. These small additions are crucial; they round out the flavors and prevent the dish from feeling one‑dimensional. If you prefer a sweeter version, add a bit more sugar or a spoonful of honey, but remember that the sauce will thicken slightly. Conversely, if you like a spicier kick, increase the chilies or add a splash of chili oil after cooking.
Everything’s prepped? Good. Let’s get into the real action…
The Method — Step by Step
- Heat a wok or large skillet over high heat until it starts to smoke. Add the vegetable oil, swirling to coat the surface. Once the oil shimmers, add the minced garlic, sliced onion, and sliced chilies. Sauté for 30 seconds, letting the aromatics bloom; the smell should be intoxicating and the chilies should release their oils. This is the moment of truth—if the mixture starts to burn, lower the heat immediately.
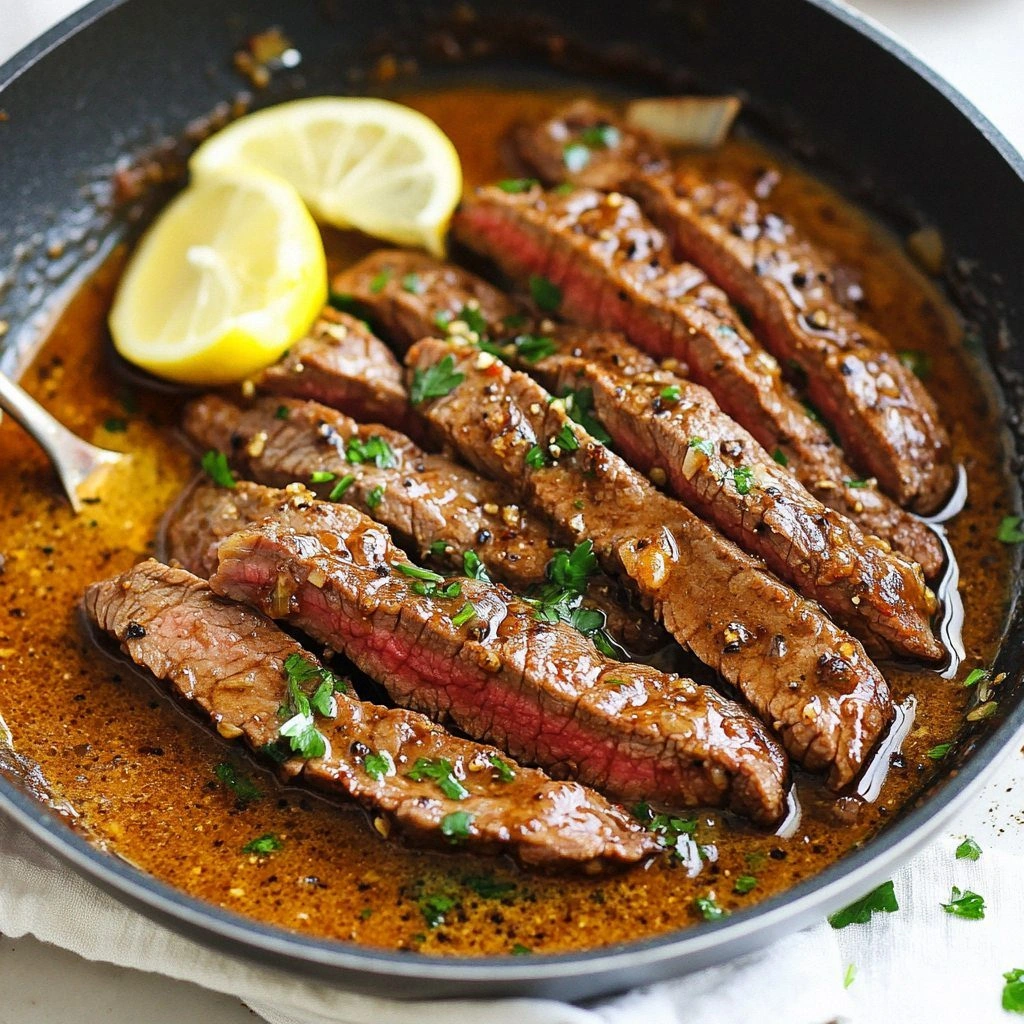
- Add the ground chicken to the pan, breaking it up with a spatula. Cook until the chicken is no longer pink, about 3-4 minutes. The chicken should sizzle loudly, and you’ll notice the edges starting to brown slightly. This caramelization locks in moisture and creates a subtle crunch that elevates the dish. Don’t rush this step; the flavor develops with the heat.
- Stir in the fish sauce, soy sauce, and oyster sauce, letting the liquids coat the chicken evenly. The sauce will start to thicken, and the aroma will shift from raw to savory. Sprinkle in the sugar and black pepper, and stir until the sugar dissolves. The mixture should look glossy and slightly sticky—this is your sauce canvas.
- Reduce the heat to medium and let the mixture simmer for 2 minutes, allowing the flavors to meld. The sauce should thicken just enough to cling to the chicken, but still be liquid enough to coat it. If it thickens too much, add a splash of water or chicken broth to loosen it.
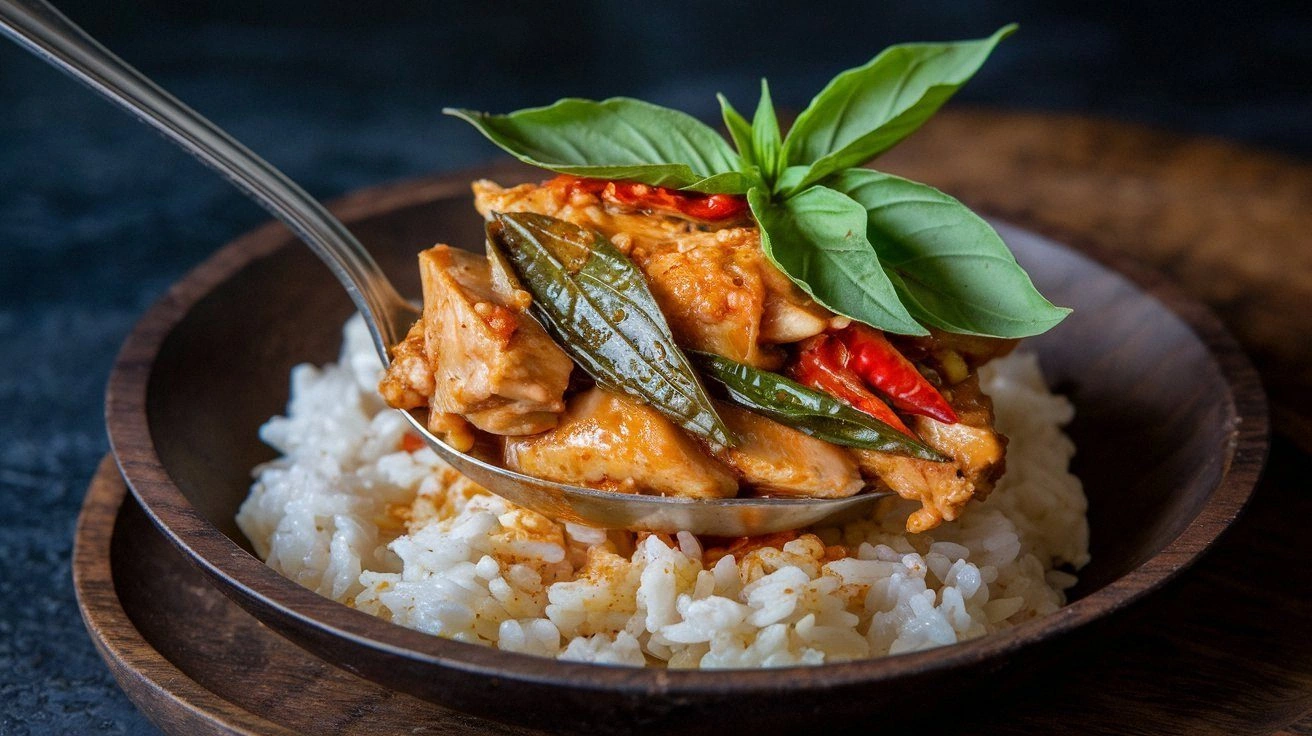
- Now comes the big reveal: add the fresh basil leaves. Toss vigorously so the basil wilts into the sauce, releasing its essential oils. The basil should turn a deep green, and the dish should emit a fragrant, peppery perfume. This final step is where the dish truly shines.
- Give the dish one final stir to ensure every piece is coated. The sauce should cling to the chicken like a glossy glaze, and the basil should be evenly distributed. This step is critical for that signature “one‑scoop” experience.
- Turn off the heat and let the dish rest for a minute. The residual heat will finish cooking the chicken and allow the flavors to settle. If you’re serving immediately, the dish is ready to be plated.
- Drizzle a splash of lime juice over the top for a bright finish. The acidity cuts through the richness and adds a refreshing contrast. Optionally, sprinkle chopped green onions for a fresh, mild crunch.
- Serve hot over steamed jasmine rice or toss with cooked rice noodles. Garnish with extra basil leaves if you like an extra burst of aroma. The dish is now ready to impress.
That’s it—you did it. But hold on, I’ve got a few more tricks that’ll take this to another level…
Insider Tricks for Flawless Results
The Temperature Rule Nobody Follows
Cooking at the right temperature is the secret to that caramelized crust. If the pan is too hot, the chicken will burn; too low, and it will steam rather than sear. Aim for a pan that’s hot enough that a drop of water sizzles and evaporates almost instantly. This ensures a crisp exterior and juicy interior. I’ve seen beginners toss the heat too high and end up with a mushy mess—don’t make that mistake.
Why Your Nose Knows Best
Don’t ignore the aroma—it’s a reliable indicator of doneness. When the sauce starts to thicken and the chicken has a golden hue, the scent will shift from raw to savory, signaling that it’s ready. If the smell is still overwhelmingly garlic or raw chicken, give it a few more minutes. Your nose is your best friend in the kitchen.
The 5‑Minute Rest That Changes Everything
Letting the dish rest for five minutes after cooking allows the juices to redistribute, ensuring each bite is moist. This short pause also lets the sauce thicken slightly, creating a more cohesive flavor profile. I’ve seen people serve immediately and miss out on that silky glaze—take the extra time, and your dish will shine.
Don’t Skimp on the Basil
Fresh basil is the heart of Pad Krapow. Use a generous handful—don’t be shy. If you’re using dried basil, replace it with double the amount, but remember the flavor will be less vibrant. The basil’s peppery bite is what gives the dish its signature kick, so keep it fresh and plentiful.
Add a Splash of Coconut Milk for Creaminess
If you prefer a richer texture, add a tablespoon of coconut milk at the end of cooking. It will give the sauce a silky mouthfeel and mellow the heat. This variation is popular in some Thai households and works great with a side of steamed rice. Just remember to stir well to integrate the coconut milk smoothly.
Use a Non‑Stick Pan for Easy Cleanup
A good non‑stick pan ensures the chicken doesn’t stick, making cleanup a breeze. While a cast‑iron skillet can deliver excellent heat distribution, it requires more maintenance. For busy evenings, a high‑quality non‑stick wok is the way to go.
Creative Twists and Variations
This recipe is a playground. Here are some of my favorite ways to switch things up:
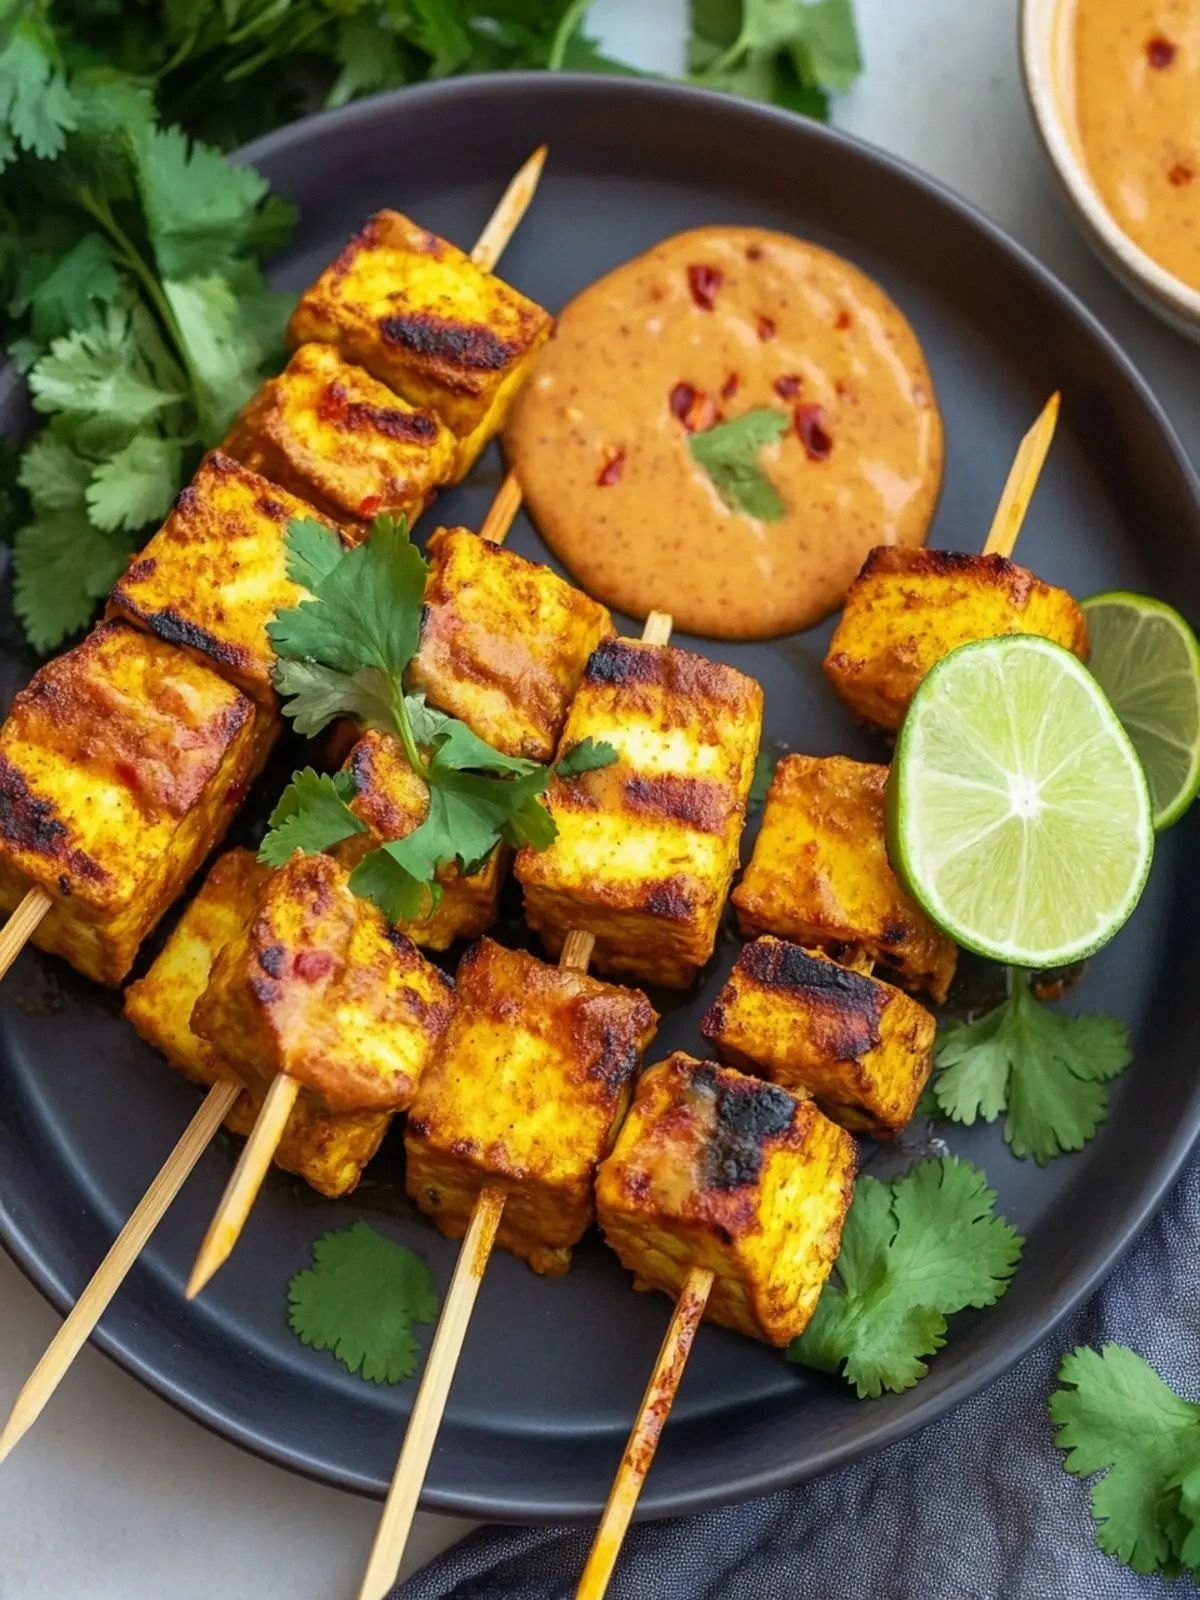
Spicy Peanut Pad Krapow
Swap the oyster sauce for a spoonful of creamy peanut butter and add a dash of Sriracha. The result is a nutty, spicy dish that pairs wonderfully with cucumber slices.
Mushroom and Tofu Pad Krapow
For a vegetarian version, replace the chicken with sautéed mushrooms and cubed tofu. The earthy mushroom flavor complements the basil’s peppery notes.
Citrus‑Infused Pad Krapow
Add a slice of orange peel to the sauce for a bright, citrusy undertone that cuts through the richness.
Lemongrass and Galangal Pad Krapow
Incorporate finely chopped lemongrass and galangal to give the dish a fragrant, slightly piney aroma. This variation is perfect for a more authentic Thai experience.
Low‑Carb Pad Krapow Lettuce Wraps
Serve the dish in crisp lettuce cups instead of rice. It’s a refreshing, low‑carb twist that’s great for a quick lunch.
Soba Noodle Pad Krapow
Toss the finished dish with cooked soba noodles for an Asian fusion twist. The noodles absorb the sauce beautifully, creating a satisfying bite.
Storing and Bringing It Back to Life
Fridge Storage
Store leftover Pad Krapow in an airtight container for up to 3 days. Keep the basil separate until you’re ready to reheat to preserve its freshness. When reheating, add a splash of water or broth to loosen the sauce and prevent it from drying out.
Freezer Friendly
For longer storage, freeze the dish (without rice) in a freezer‑safe container for up to 2 months. Thaw overnight in the fridge and reheat gently on the stove, adding a little water or broth to revive the sauce. The basil should be added fresh after reheating.
Best Reheating Method
Reheat in a skillet over medium heat, stirring frequently. Add a small amount of water or broth to keep the sauce from thickening too much. Finish with a drizzle of lime juice and fresh basil for that fresh, vibrant finish.