There was a moment last winter when I was trying to salvage a batch of cookies that had turned out more like a soggy, nutty slab than the airy, buttery treats I had imagined. The kitchen smelled of burnt sugar and melted butter, and my friends were laughing as I tried to rescue what remained. That disaster was the spark that led me to experiment with a new recipe that would forever change how I think about peanut butter desserts. I was determined to create something that would make the entire room smell like a warm, buttery peanut butter dream, and I never looked back.
Picture this: the moment the dough hits the hot oven, the air fills with a sweet, nutty aroma that makes your mouth water before you even see the first cookie. The sound of the dough shifting in the pan is a subtle, satisfying crackle that tells you everything is going according to plan. When you pull them out, the edges are crisp and golden, while the centers remain tender and slightly gooey—just the right balance. The first bite delivers a burst of creamy peanut butter that coats your tongue like velvet, followed by a satisfying crunch from the chocolate kisses that melt into the dough. I dare you to taste this and not go back for seconds.
What sets this version apart is that it’s not just another peanut butter cookie. Every element—flour, sugar, butter, peanut butter, egg, vanilla, baking soda, salt, and those glorious Hershey’s Kisses—is chosen to create a harmonious flavor profile that feels indulgent yet balanced. The cookies are thick enough to hold the chocolate inside, yet thin enough to offer that satisfying snap. The result is hands down the best version you'll ever make at home, and it’s easy to see why it’s become a staple for anyone who loves a sweet, nutty treat. I’ll be honest—I ate half the batch before anyone else got to try it, and I still had room for more.
Most recipes get this completely wrong, focusing on either overbaking or underbaking, or neglecting the role of the chocolate kisses entirely. The secret to this recipe is a simple technique that ensures each bite has a perfect balance of crispness and chewiness, and a flavor that lingers long after the last crumb. Picture yourself pulling this out of the oven, the whole kitchen smelling incredible, and the anticipation of that first bite making your heart race. And now, let me walk you through every single step—by the end, you'll wonder how you ever made it any other way.
What Makes This Version Stand Out
- Flavor: The combination of creamy peanut butter and rich chocolate kisses creates a multi-layered taste that satisfies both sweet and savory cravings. This blend is more complex than typical peanut butter cookies, offering a depth that lingers on the palate.
- Texture: The dough’s unique ratio of flour to butter produces a cookie that is crisp on the edges yet soft and chewy inside, a texture profile that feels almost luxurious.
- Simplicity: With only ten ingredients, the recipe is straightforward and quick to assemble, making it ideal for both novice bakers and seasoned chefs.
- Uniqueness: The strategic placement of Hershey’s Kisses inside the dough creates pockets of molten chocolate that melt into the cookie, giving each bite a delightful surprise.
- Audience: The cookies are crowd-pleasers that work well for parties, potlucks, or a quiet evening snack, and they can be served alongside coffee or tea for an extra touch of indulgence.
- Ingredient Quality: Using real, high-quality peanut butter and butter rather than substitutes ensures a richer flavor profile and better texture.
- Cooking Method: The method incorporates a gentle bake that allows the cookies to rise just enough for that signature airy center, avoiding the common issue of over-browning.
- Make‑Ahead Potential: These cookies store beautifully, maintaining their moisture and flavor for up to a week when kept in an airtight container.
Inside the Ingredient List
The Flavor Base
All-purpose flour is the backbone of the cookie, providing structure and a neutral canvas for the other flavors. It’s crucial to sift the flour before measuring to avoid clumps that can affect the cookie’s rise. Skipping the flour would leave the dough too wet, causing the cookies to spread excessively and lose their signature shape.
The Texture Crew
Granulated sugar adds sweetness and helps create a slightly crisp exterior. Light brown sugar introduces molasses undertones, adding depth and a hint of caramel that complements the peanut butter. Unsalted butter brings richness and a buttery flavor that balances the sweetness; using salted butter would alter the final taste profile.
The Unexpected Star
Peanut butter is the star ingredient, infusing the cookies with a creamy, nutty essence that is both comforting and indulgent. It also acts as a binder, helping the dough hold together while adding a subtle oil content that keeps the cookies moist. If you’re vegan, a plant-based peanut butter can be used, but the texture may slightly differ.
The Final Flourish
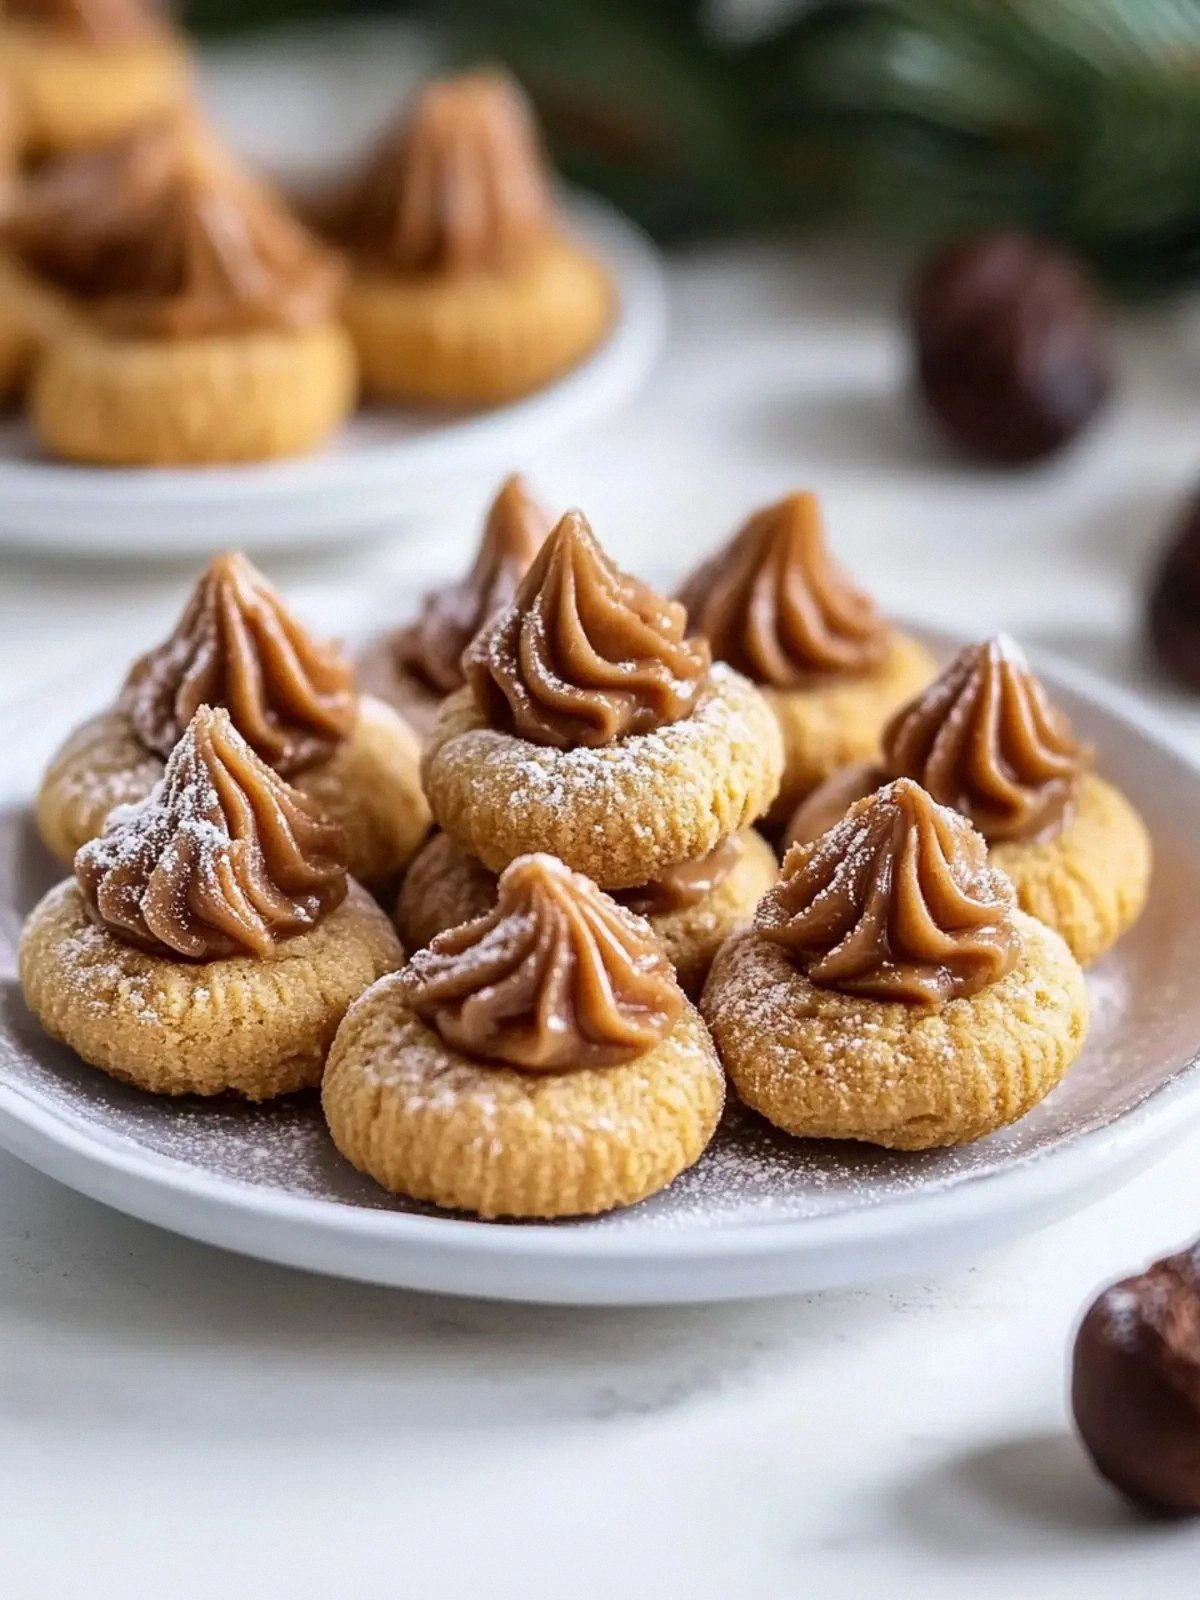
Hershey’s Kisses are the crowning glory, providing pockets of molten chocolate that burst in your mouth. The chocolate’s sweetness balances the peanut butter’s richness and the sugars’ caramel notes. If you prefer dark chocolate, feel free to swap the Kisses for dark chocolate chips, but note that the flavor profile will shift toward a more bittersweet experience.
Everything's prepped? Good. Let's get into the real action...
The Method — Step by Step
- Preheat your oven to 350°F (175°C) and line two baking sheets with parchment paper. The parchment ensures the cookies don’t stick and makes cleanup a breeze. While the oven warms, bring the butter to room temperature so it blends smoothly into the dough.
- In a large mixing bowl, combine the flour, granulated sugar, light brown sugar, baking soda, and salt. Sift the dry ingredients together to eliminate lumps and promote even distribution. This step guarantees that every bite has the same flavor and texture.
- Add the softened butter, creamy peanut butter, egg, and vanilla extract to the dry mixture. Use a wooden spoon or silicone spatula to fold the ingredients together until a rough dough forms. The dough should feel slightly sticky but manageable—don’t overmix or it will become tough.
- Roll the dough into small balls, about the size of a walnut, and place them 2 inches apart on the prepared baking sheets. Gently flatten each ball with the back of a fork, creating a shallow disc that will hold the chocolate kisses.
- Insert one Hershey’s Kiss into the center of each flattened dough disc. The chocolate should sit snugly but not be buried; this allows it to melt slightly during baking while still remaining visible. Watch Out: Be careful not to press the chocolate too hard into the dough, or it may split open and lose its shape.
- Bake the cookies for 12-14 minutes, or until the edges turn a light golden brown and the centers are set but still slightly soft. The smell of toasted sugar and melted chocolate should fill the kitchen, signaling that the cookies are ready. Keep a close eye on the last few minutes to prevent overbrowning.
- Remove the baking sheets from the oven and allow the cookies to cool on the sheets for 5 minutes before transferring them to a wire rack. This brief rest lets the chocolate set, preventing it from spilling out when you handle the cookies. Kitchen Hack: If you want a crunchier edge, bake the cookies for an additional 1-2 minutes. This will give the edges a crisp finish without compromising the center.
- Let the cookies cool completely on the wire rack. The cooling process allows the chocolate to fully set and the cookies to firm up, making them easier to handle and store. Once cooled, you can enjoy them immediately or wrap them in parchment for later.
- Serve the cookies with a glass of cold milk or a cup of tea. The dairy or tea will complement the rich peanut butter and chocolate flavors, creating a harmonious tasting experience. If you’re feeling adventurous, drizzle a little honey over the top for an extra layer of sweetness.
That's it — you did it. But hold on, I've got a few more tricks that'll take this to another level...
Insider Tricks for Flawless Results
The Temperature Rule Nobody Follows
Many bakers bake at 375°F, but that can cause the cookies to brown too quickly on the outside while remaining undercooked inside. Baking at 350°F gives the dough a chance to rise evenly, resulting in a golden crust and a soft center. If you’re in a hurry, you can raise the temperature to 375°F for the last 2 minutes, but be sure to watch the cookies closely.
Why Your Nose Knows Best
Trust your sense of smell during baking. When the cookies start to emit a nutty, caramel scent, they’re nearly ready. If the aroma is too sweet or too buttery, the cookies may be overbaked. The scent is a reliable indicator that the chocolate is melting just right.
The 5‑Minute Rest That Changes Everything
Allowing the cookies to rest on the baking sheet for 5 minutes before transferring them to a wire rack gives the chocolate a chance to set. This prevents the chocolate from spilling out and creates a cleaner presentation. Skipping this step often results in a messy cookie with chocolate drips.
Use a Light Touch When Flattening
When you flatten the dough discs, press down gently. Too much pressure can compress the chocolate, making it difficult for the cookie to rise properly. Lightly flattening preserves the dough’s structure and keeps the chocolate intact.
Cool the Dough on a Cold Surface
Placing the dough on a chilled surface before baking can help control the spread of the dough and keep the edges crisp. A cold surface also helps the butter stay firm, which contributes to a lighter texture. This trick is especially useful in hot kitchens.
Creative Twists and Variations
Salted Caramel Swirl
Swap the peanut butter for salted caramel butter and drizzle a pinch of sea salt over each cookie. This variation adds a sweet‑salty contrast that elevates the classic flavor profile. It’s perfect for those who love a little extra kick.
Chocolate‑Covered Peanut Butter
Dip the cooled cookies in melted dark chocolate and let them set on parchment. The chocolate coating adds a glossy finish and a richer chocolate flavor that pairs wonderfully with the peanut butter. Finish with a sprinkle of sea salt for balance.
Almond Butter Twist
Replace the peanut butter with almond butter for a nutty twist. Almond butter has a slightly sweeter, milder taste that complements the Hershey’s Kisses beautifully. The result is a cookie that feels both familiar and fresh.
Mint‑Infused Delight
Add a few drops of peppermint extract to the dough and garnish with crushed peppermint candy after baking. The mint adds a refreshing aftertaste that contrasts the chocolate and peanut butter. This variation is ideal for holiday gatherings.
Nutty Chocolate Chunk
Instead of Hershey’s Kisses, fold in dark chocolate chunks and toasted walnuts into the dough. The walnuts add crunch while the chocolate chunks provide additional melt‑in‑your‑mouth moments. The combination is a chocolate lover’s dream.
Gluten‑Free Version
Use a gluten‑free flour blend in place of all‑purpose flour and increase the baking soda slightly to help the cookies rise. This version maintains the same texture and flavor while accommodating gluten‑sensitive diners. The result is just as delightful.
Storing and Bringing It Back to Life
Fridge Storage
Store the cooled cookies in an airtight container at room temperature for up to a week. If you want to keep them fresh longer, place a slice of bread in the container; the bread will absorb excess moisture and keep the cookies from drying out. Avoid refrigeration unless you plan to use them within a few days, as this can alter the texture.
Freezer Friendly
For longer storage, freeze the cookies on a parchment-lined tray for 24 hours, then transfer them to a freezer bag. They will keep well for up to 3 months. When ready to enjoy, thaw at room temperature for 30 minutes before serving.
Best Reheating Method
To revive the cookies, preheat your oven to 300°F (150°C) and bake them for 5 minutes. If you prefer a softer texture, microwave them on a paper towel for 10–15 seconds. Add a tiny splash of water to the dough before reheating if the cookies feel dry; this steams them back to perfection.